So here’s my process, painstakingly assembled from several sources across the Internet. I make no claims that this is the best - just that it works for me.
Recipe #
Levain #
- 45g mature starter
- 45g unbleached all-purpose flour
- 45g stone-ground whole wheat flour
- 90g filtered water at room temperature
Dough #
- 273g unbleached bread flour
- 175g stone-ground whole wheat flour
- 500g unbleached all purpose flour
- 660g filtered water, 90-95 degrees F
- 180g mature levain (just use everything from step one)
- 18g fine sea salt
Note: it’s perfectly fine in Canada to use 100% all purpose flour instead of the mix of bread flour and AP flour.
Saturday #
- 9am - mix up a “levain”
- 2pm - autolyse
- 3pm - mix levain (and salt!) into dough
- 3:30pm - 6pm - coil folding
- 6pm - 8pm - bulk fermentation
- 8pm - form loaves and into the fridge for overnight slow fermentation
Sunday #
- 9am - preheat oven with dutch oven inside
- 9:30 - remove first loaf from the fridge, score and bake
- 10:30am - remove second loaf from the fridge, score and bake
- 11:30am - all done! loaves are cooling for later deliciousness
Make the Levain #
Okay, so some terminology. Sourdough starter, levain, starter sponge, mother, etc. etc. etc. are all words used differently by different people for different things. They are all versions of a pre-ferment - a mixture of flour, water, and a leavening agent (in our case, wild yeast) combined in advance of making a bread dough.
I have adopted the terms “sourdough starter” for the yeast colony that lives on the counter/in the fridge, from which all leavening bounty flows; and “levain” for the child colony that I create specifically for the purpose of baking loaves of bread. The levain is entirely consumed by the breadmaking process; the sourdough starter lives on to feed more loaves in the future.
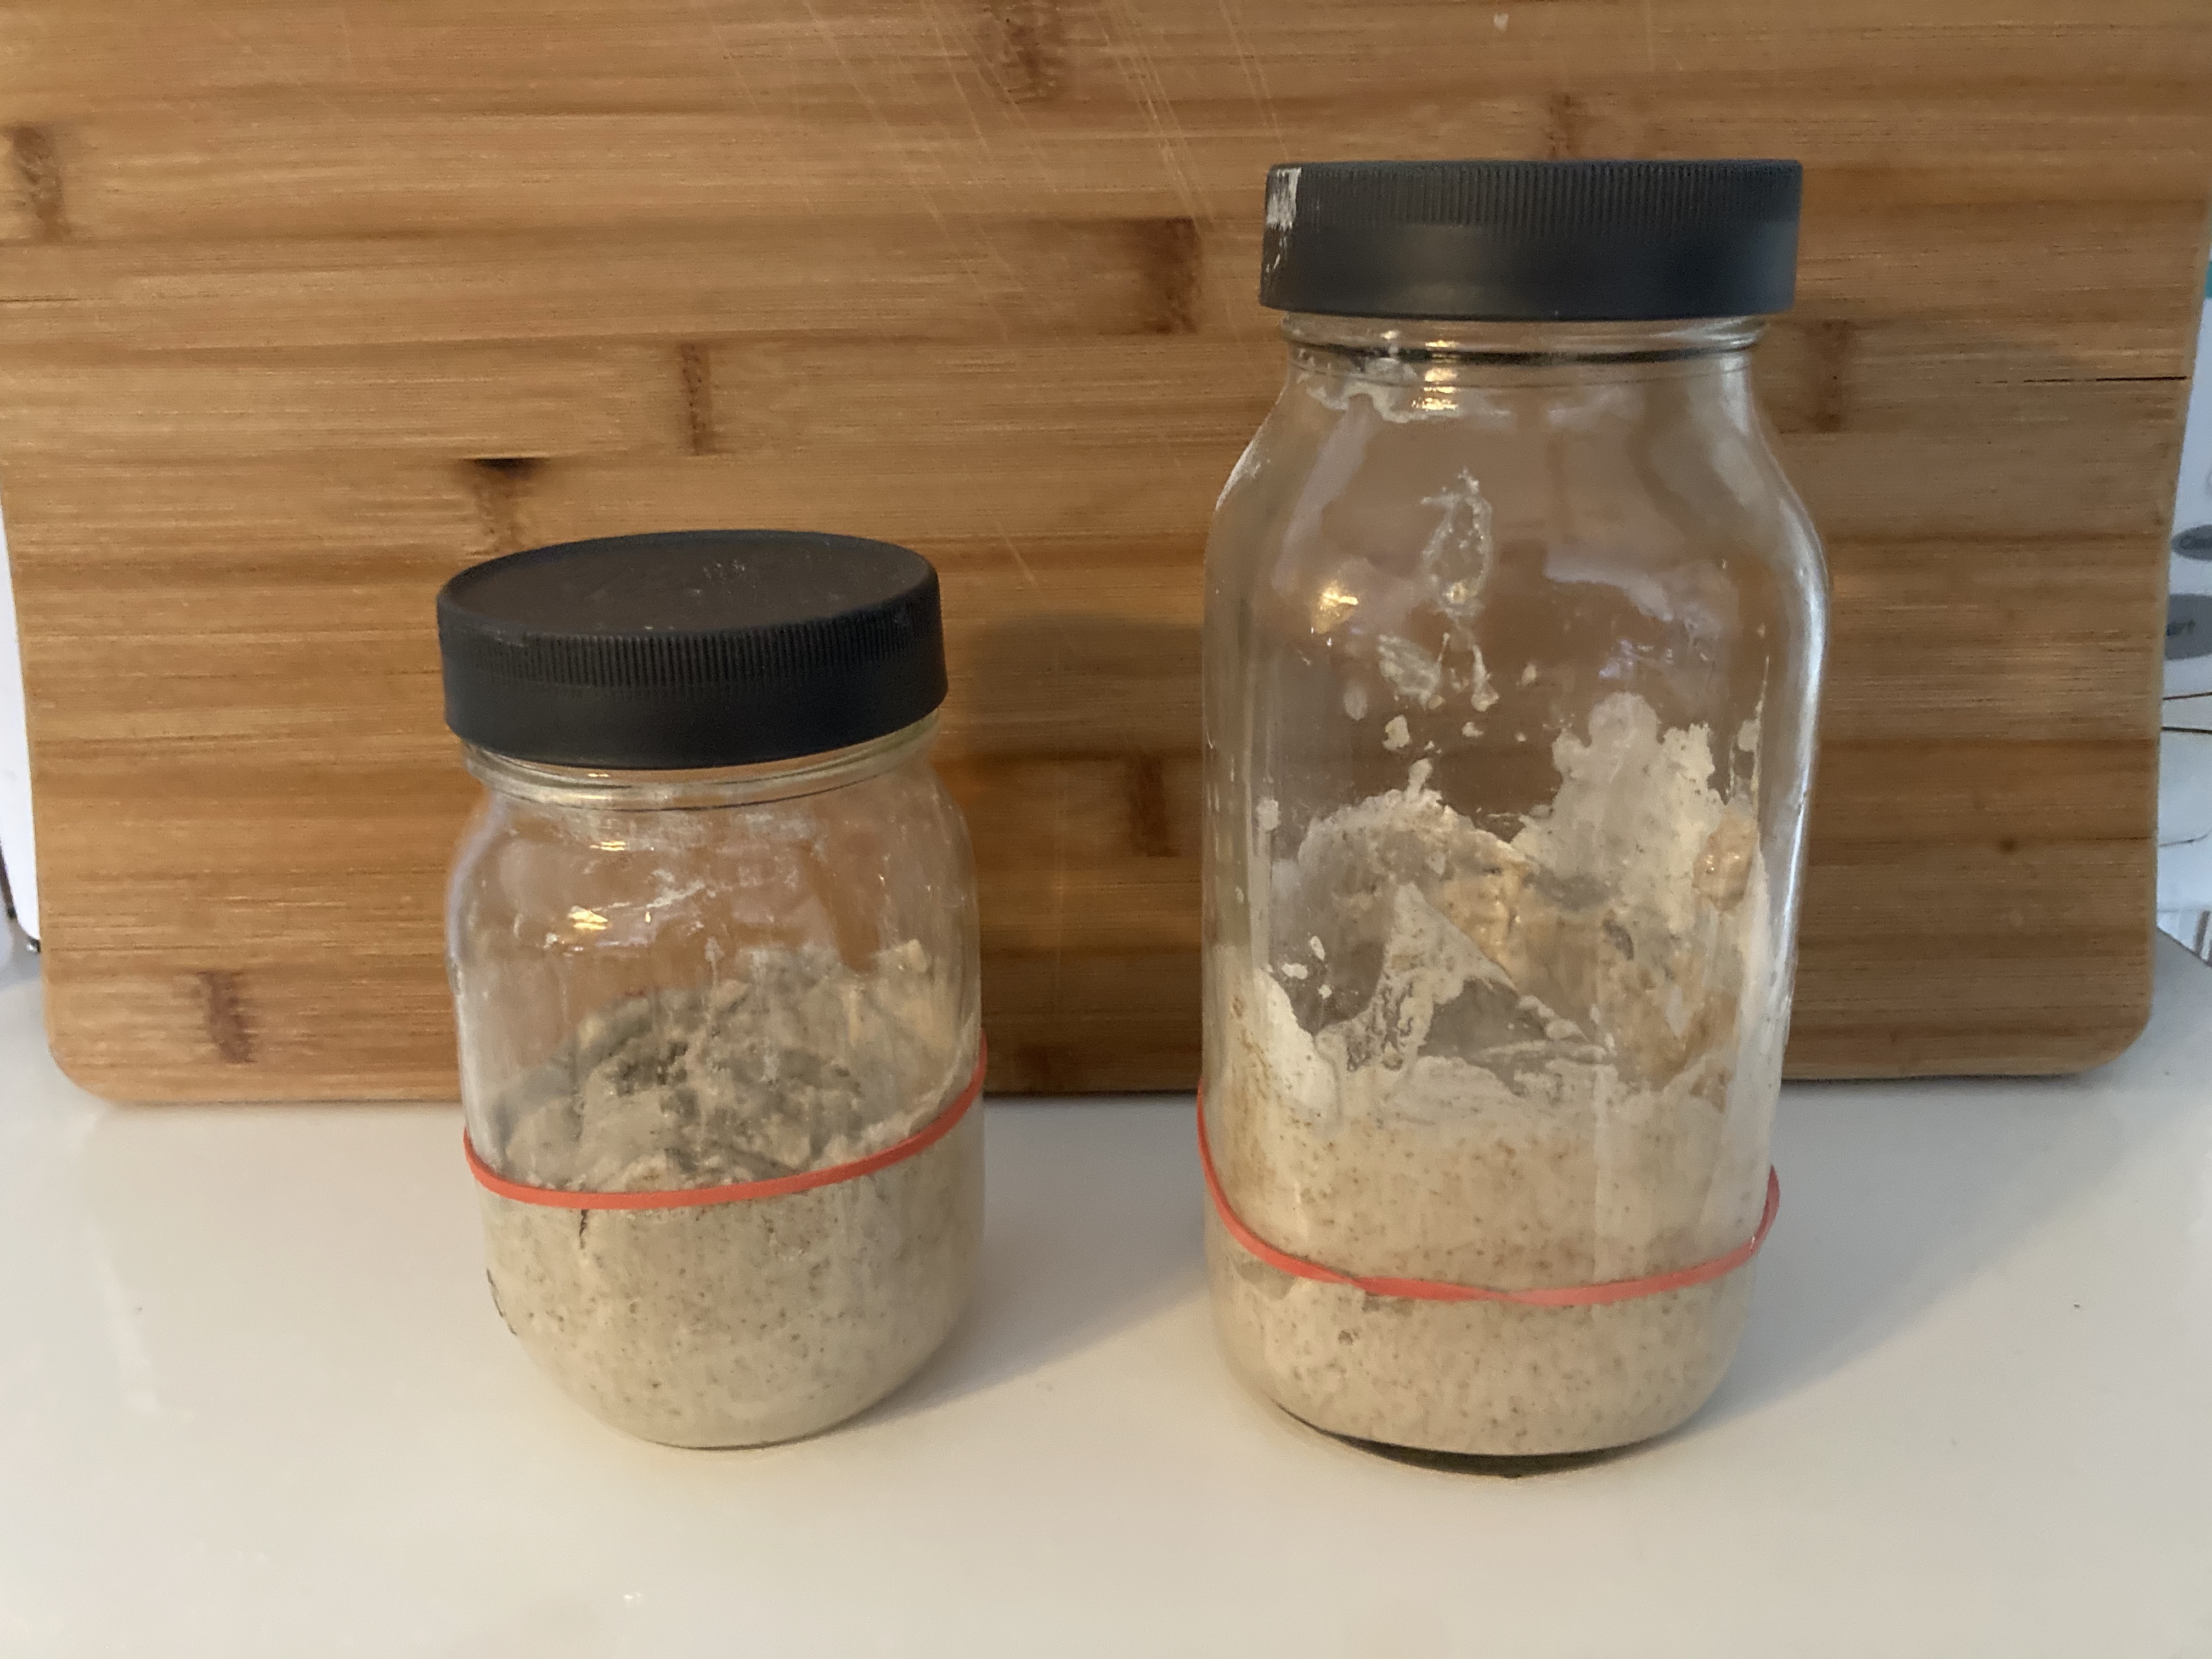
Anyway - this step is easy. Mix the ingredients in a jar, put an elastic around it to measure the rise, and stick it in a warm spot in your kitchen to get all active and bubbly (about 5 hours in my kitchen. Here are my starter and levain mixed up at 9am:
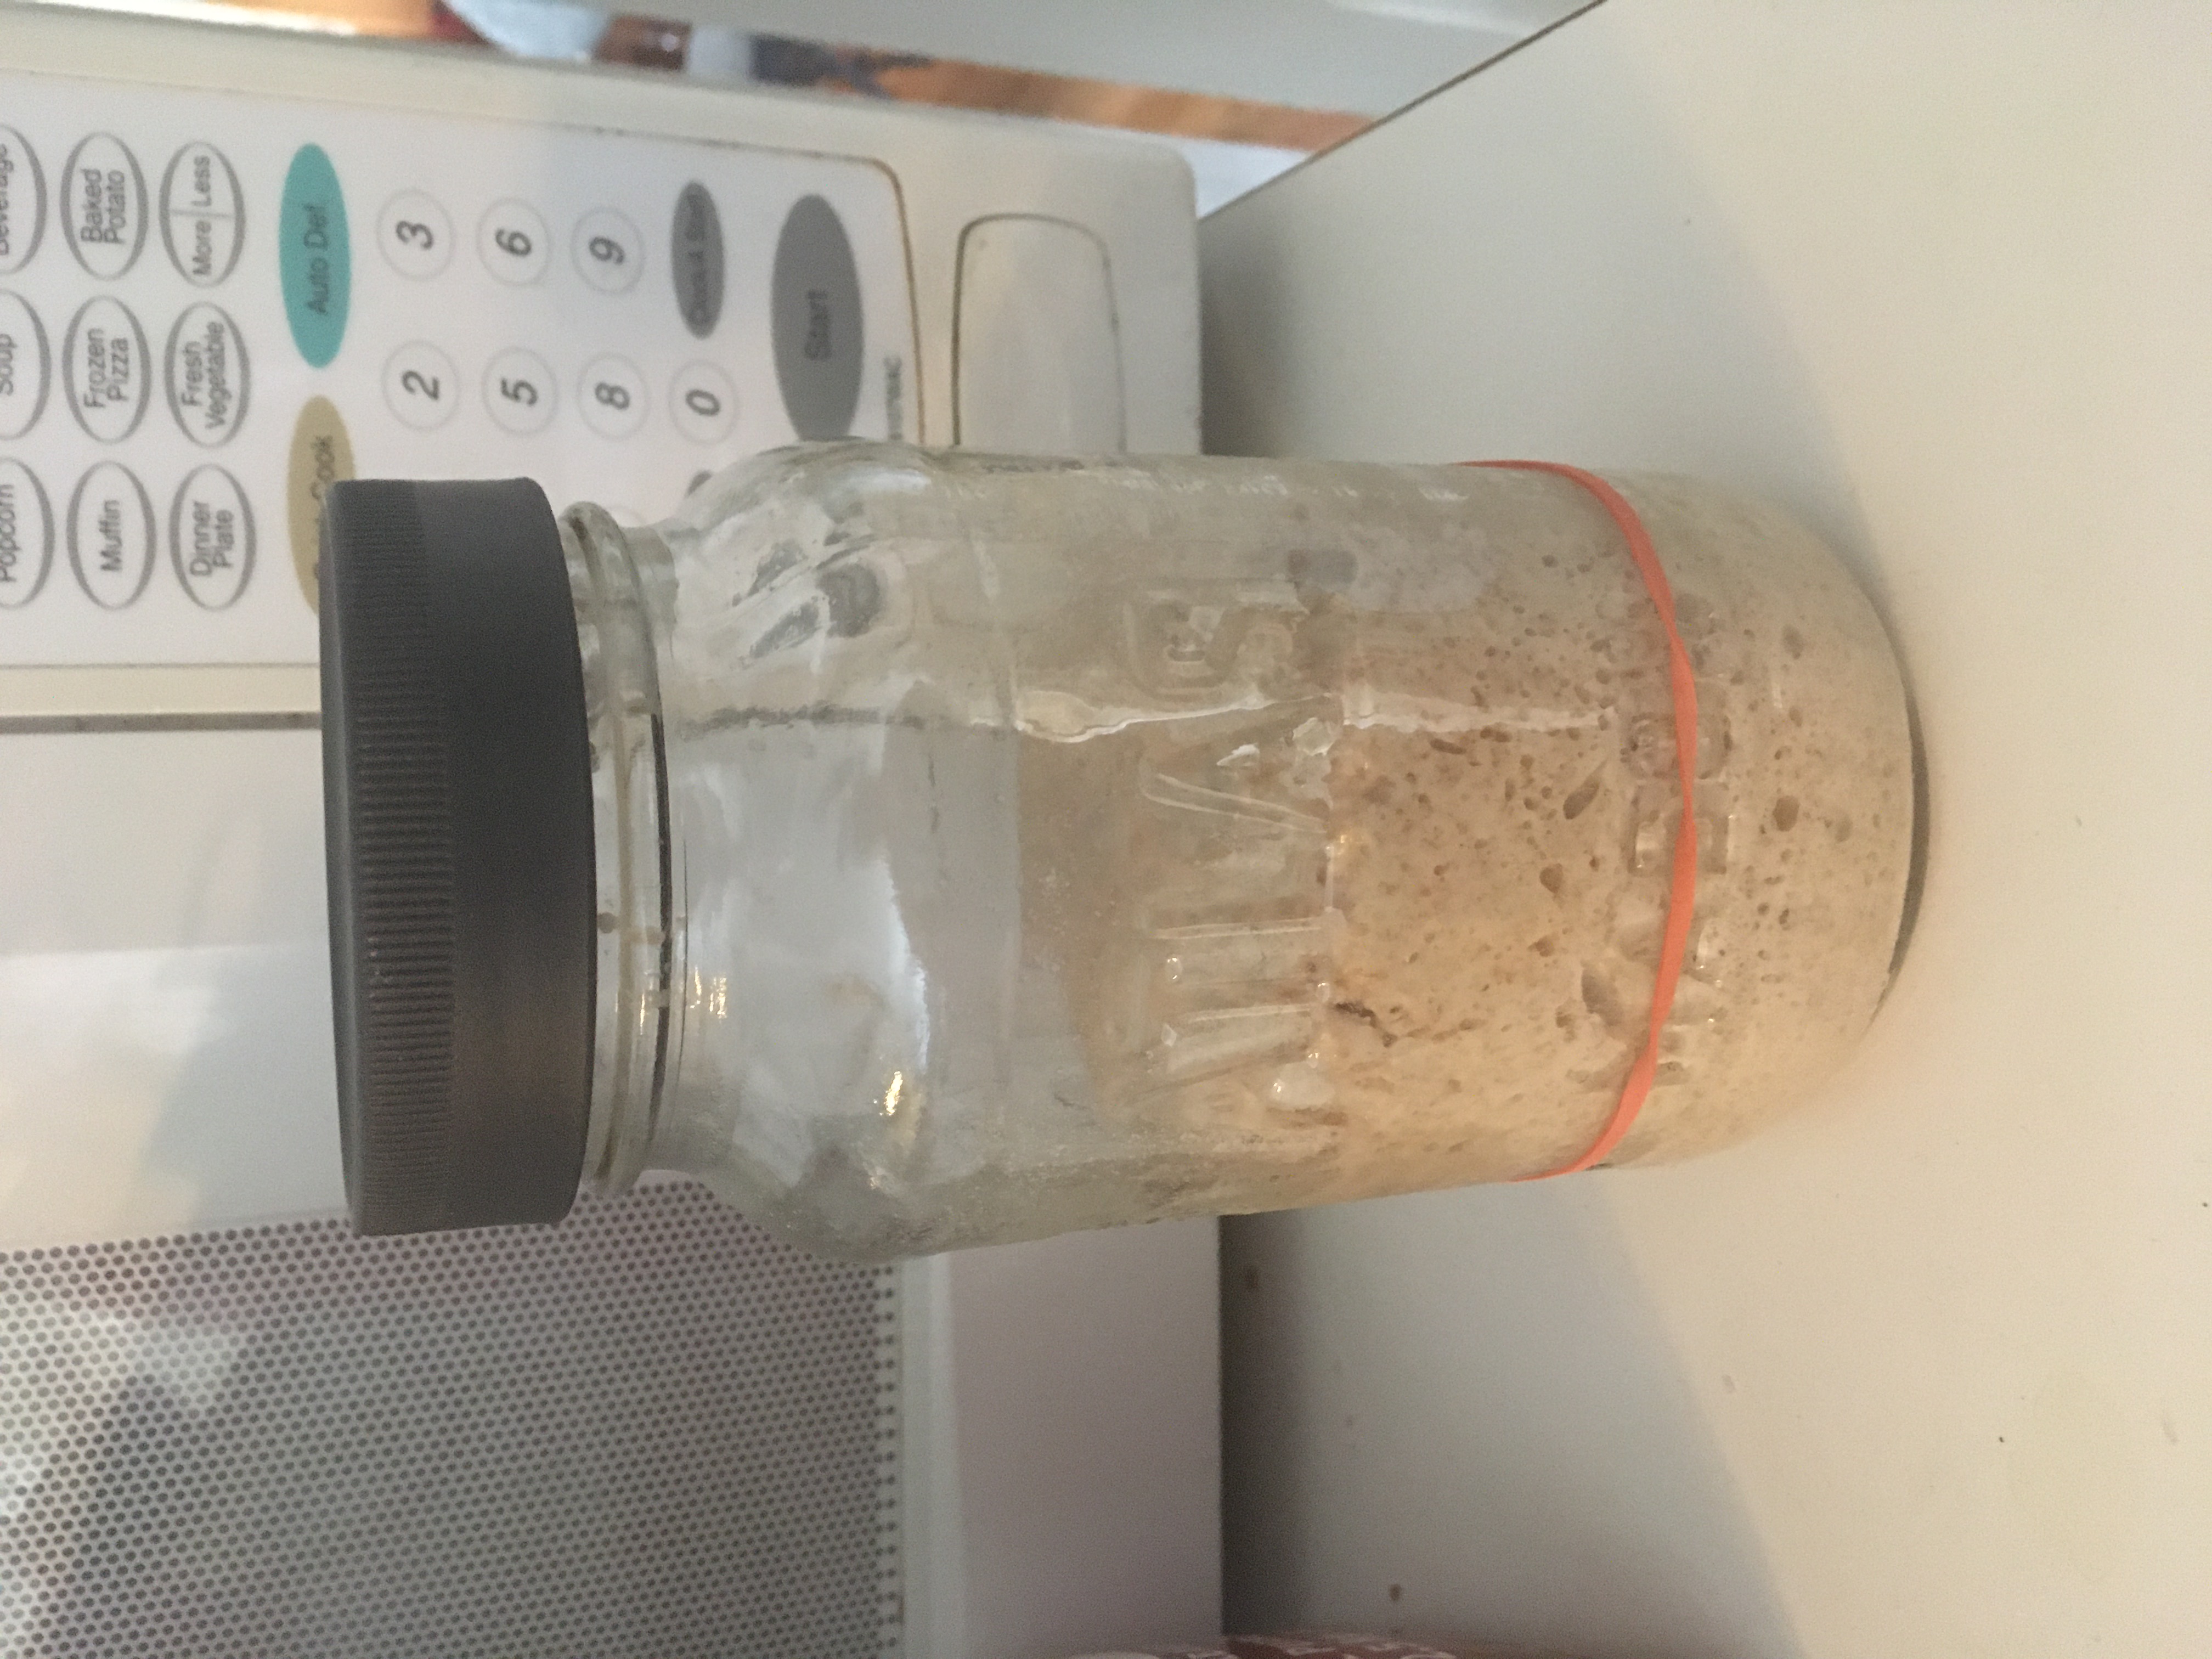
And my levain ready to go into the dough:
Autolyse #
A french term for letting flour hydrate and start forming gluten. This step is not strictly necessary; I’ve dumped flour, water, levain, and salt into my stand mixer and used the dough hook to mix/knead it, with excellent results. There are purists out there who swear by it, and when I’m mixing by hand I perform this step because it makes the process easier.
This one is simple - measure the flours into a large mixing bowl, add the water, and mix just until a dough forms and there are no dry bits left. Cover with plastic or a damp tea towel and let sit for at least 30 minutes. On cold winter days I put mine in the oven with the oven light on (this raises the temperature inside to about 100F/38C in my oven).
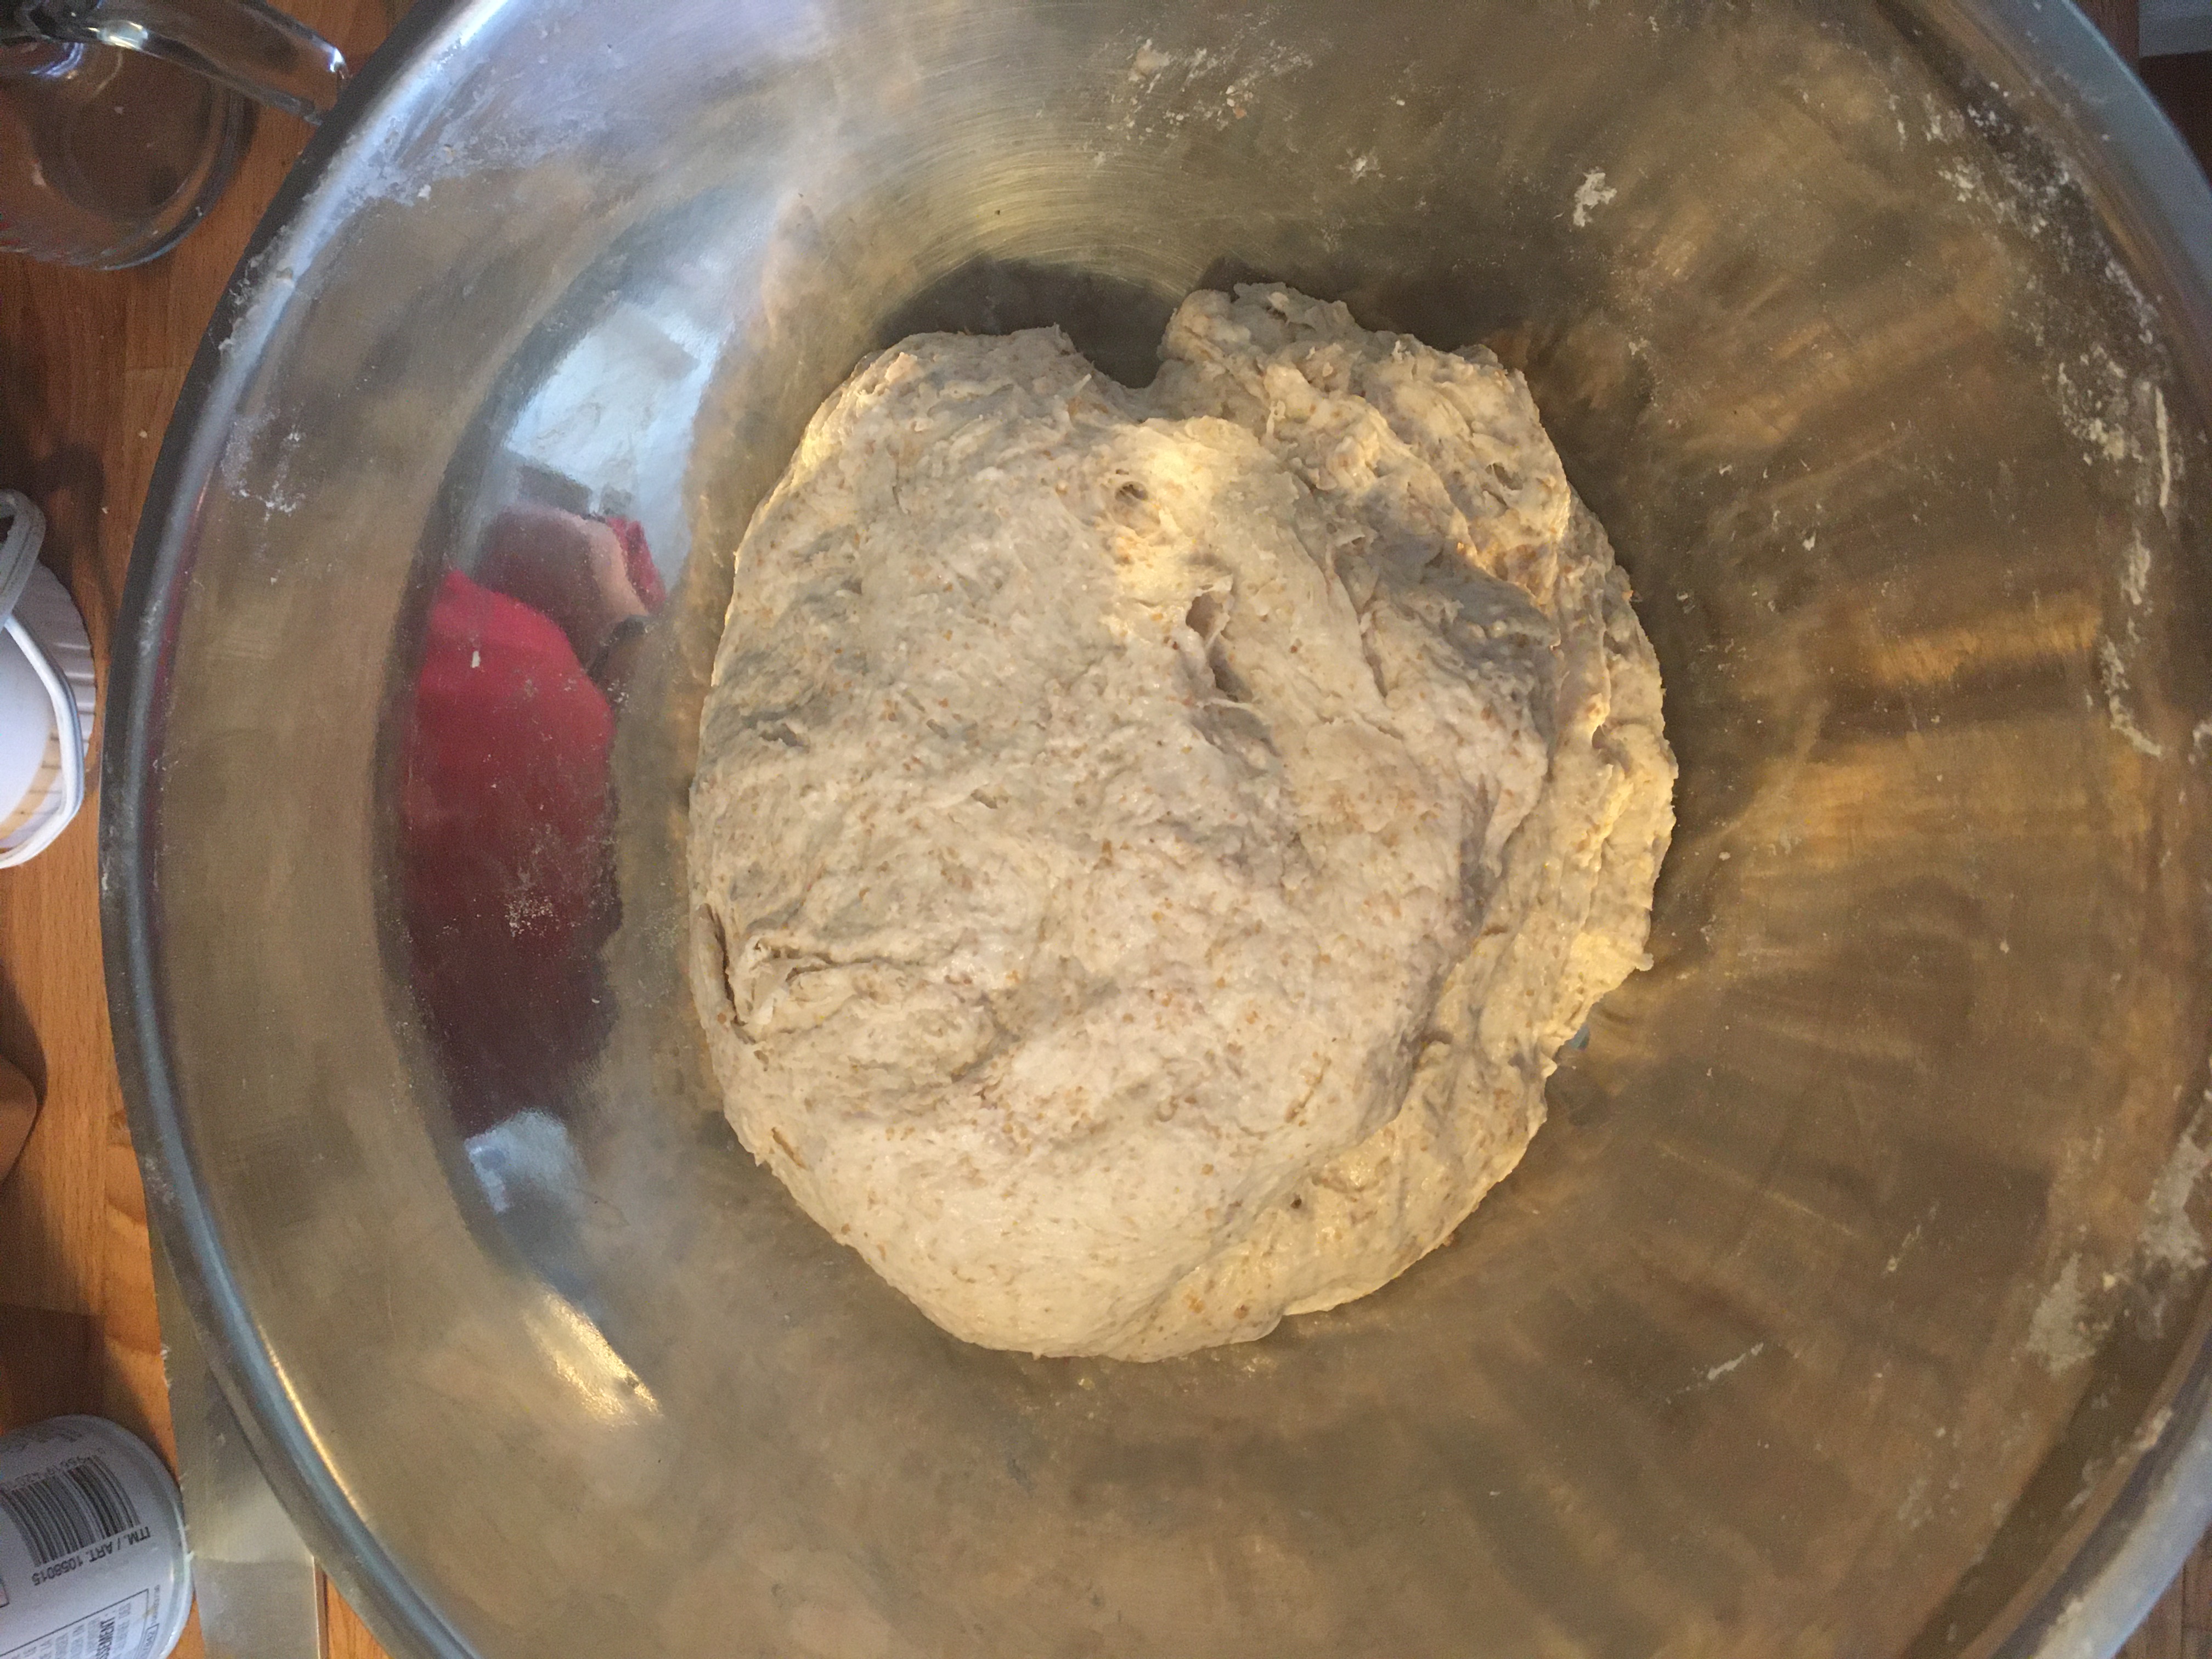
Add the starter #
Mix the starter into your dough. This seems challenging at first; they don’t want to mix! There are a lot of techniques on the Internet. I spread out the dough a bit, dump the starter on top, and then use a combination of dimpling (pressing the starter deep into the dough using my fingers), twisting, and stretch-and-fold for several minutes until everything seems mixed.
Add the salt #
Now do the same thing with the salt. Note: you can do this together, but - as well as making the bread taste better, salt tightens the gluten chains. This makes the eventual loaf’s structure stronger, but makes the initial mixing step harder, so now I do them separately.
I have also done all of the above steps at once using a stand mixer. It works, but I found that the dough was a little looser and didn’t hold its shape as well during forming and baking. But it is a lot less work! If you use a mixer, adjust your times a bit - the dough starts proofing as soon as you add the levain.
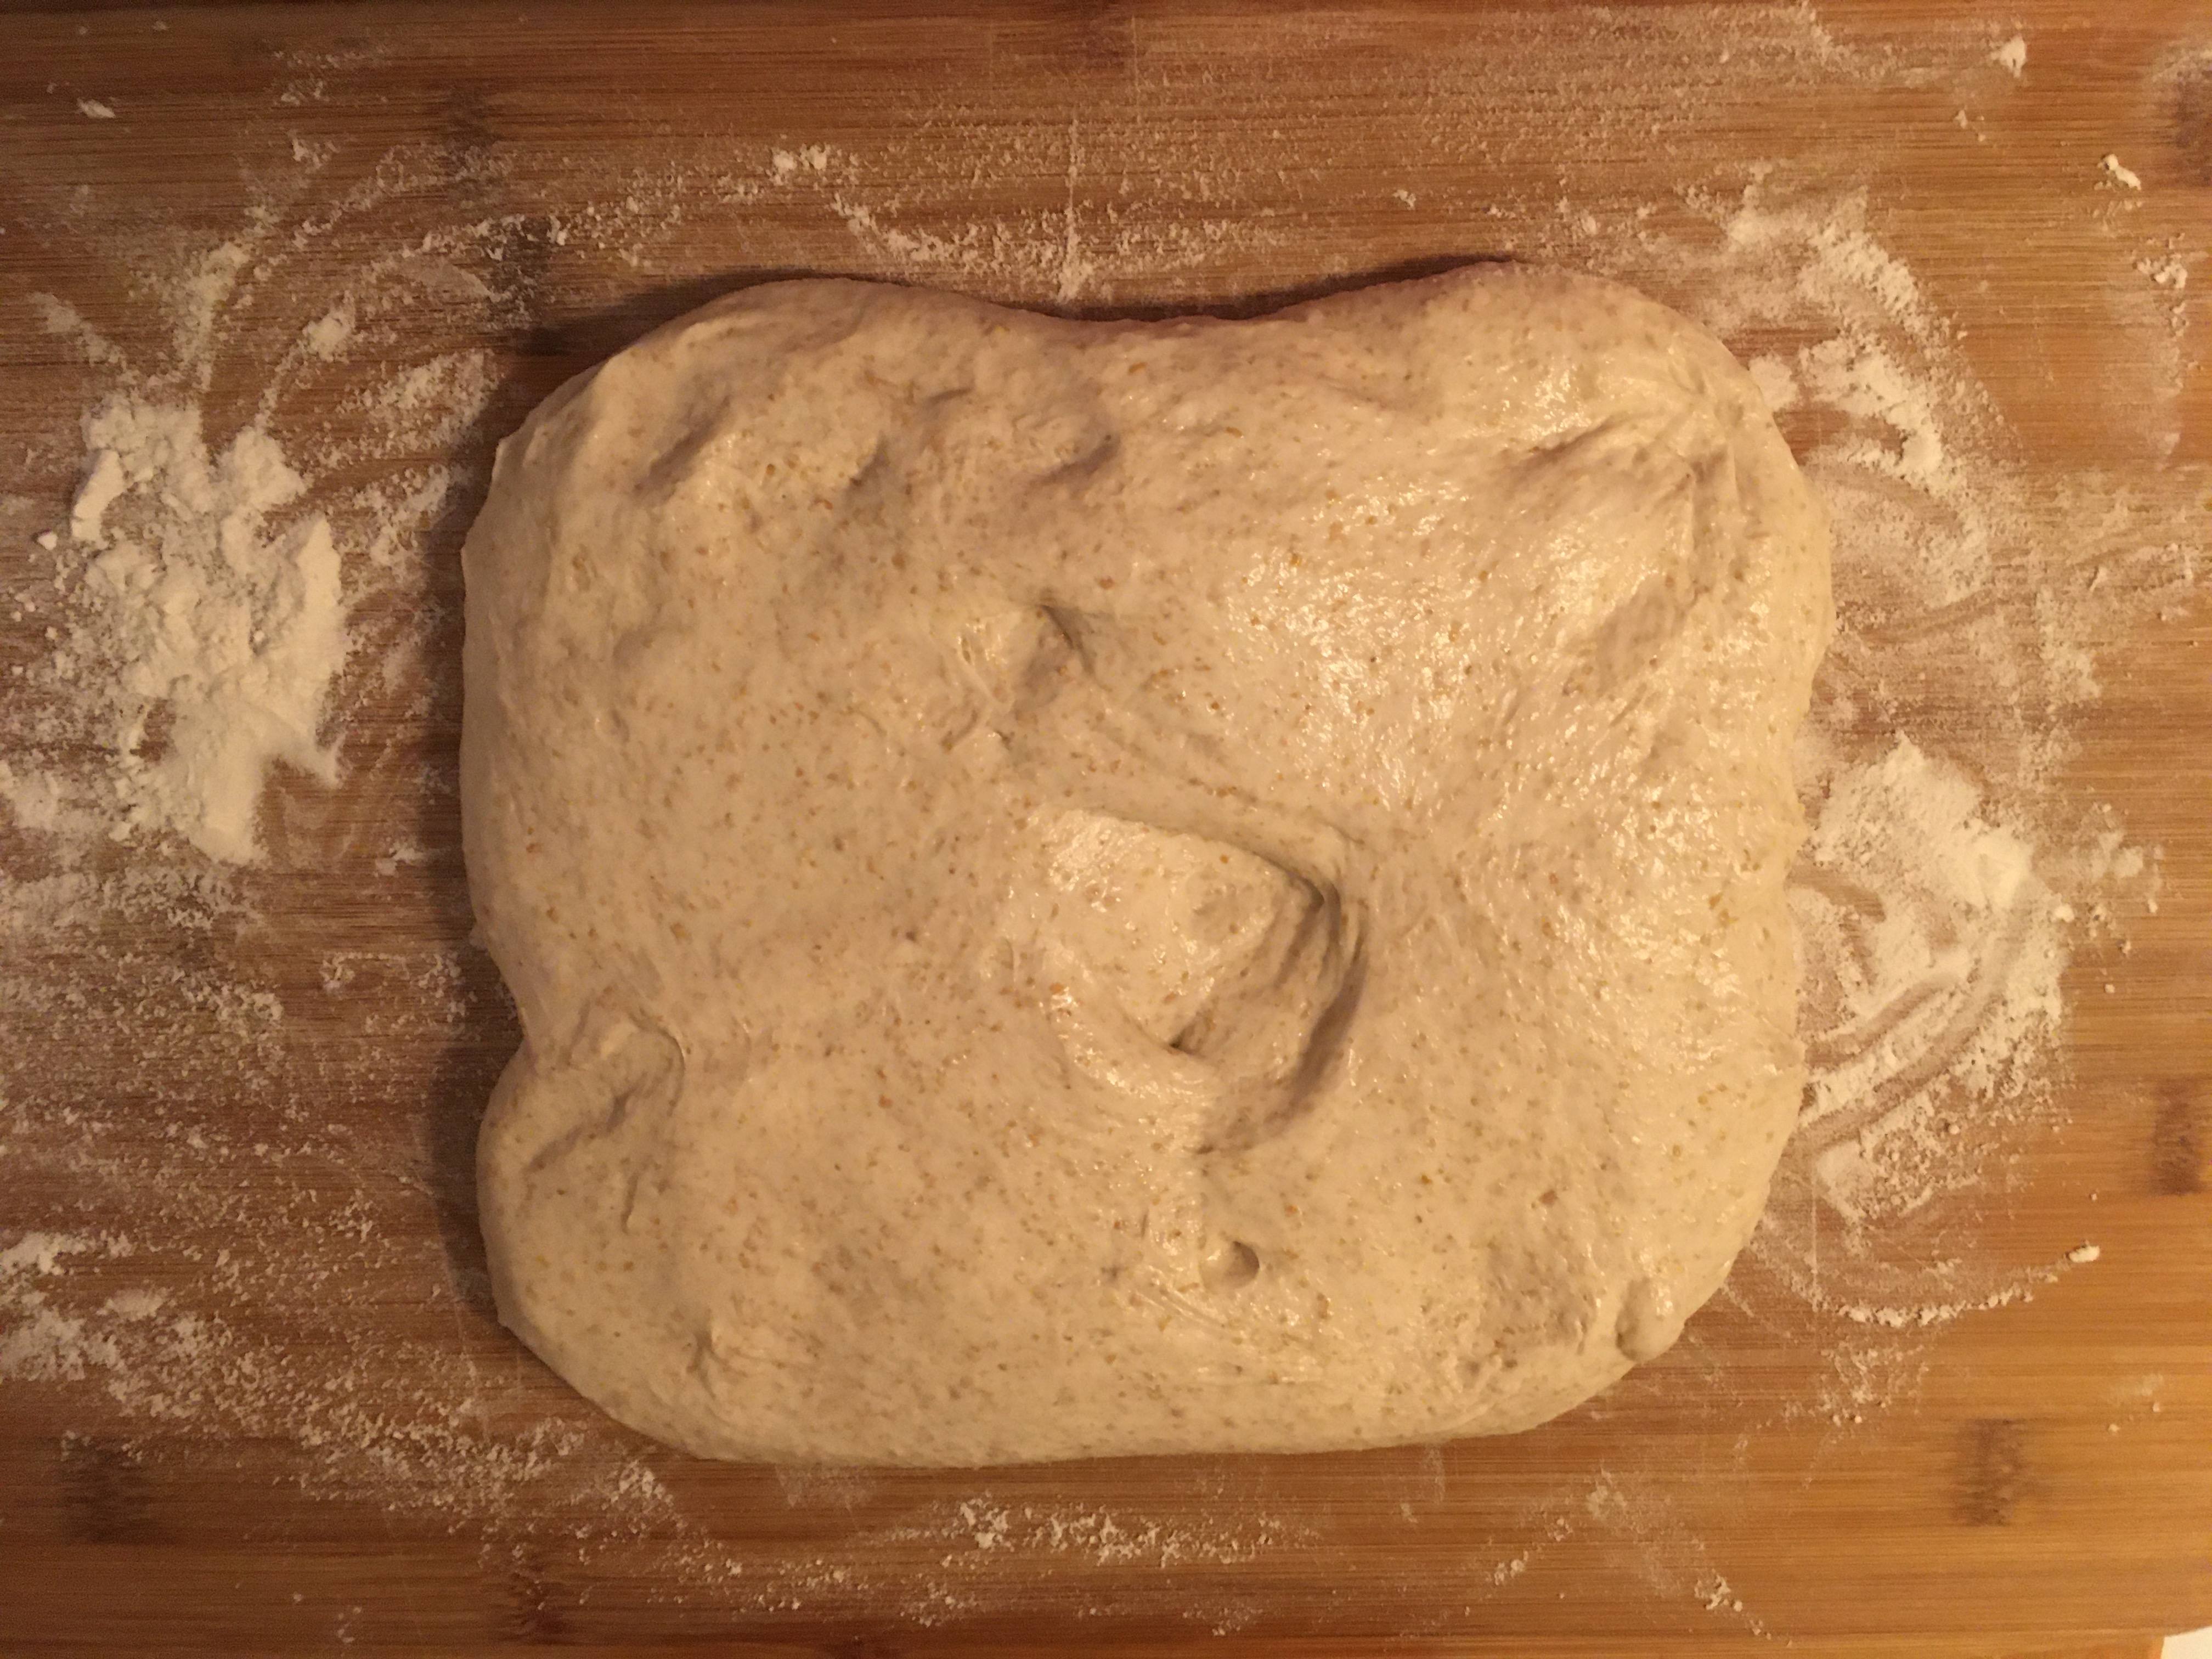
Split the dough #
This recipe makes two 900g-ish loaves (I’m rounding). You can split the dough by eye, or weigh the pieces on your kitchen scale. At the end, you should have two blobs of dough in glass containers ready for coil folding. I use glass containers because the dough sticks well to them (but not too well), and they’re heavy enough to stay on the counter as I pull the dough up and away from them - these are both excellent characteristics for coil folding. Here are my baby breads:

Coil folding #
Coil folding strengthens the structure of the loaf, stretching the gluten fibres and incorporating more and smaller air pockets. Set a timer for 30 minutes, and after each half-hour fold the dough on itself by lifting the center and letting the edge flop underneath. Hard to describe, so check out the videos. I do this six times over three hours.
There are many techniques for agitating your dough in order to strengthen it and get a better loaf structure at the end. Here’s an amusing video showing three different techniques (Slap & Fold, Stretch & Fold, and Coil Folds):
I personally learned coil folding from a video by Home Grown Happiness (start at about 2:15):
On the other hand, here’s another video demonstrating several different bulk fermentation agitation techniques and the final loaves that result:
(Foodgeek has quite a few experimental videos like this, and the conclusion is often “it doesn’t really matter” 🙂 – although in this particular video, coil folds win!
Experiment with different techniques, and figure out which one works best for you.
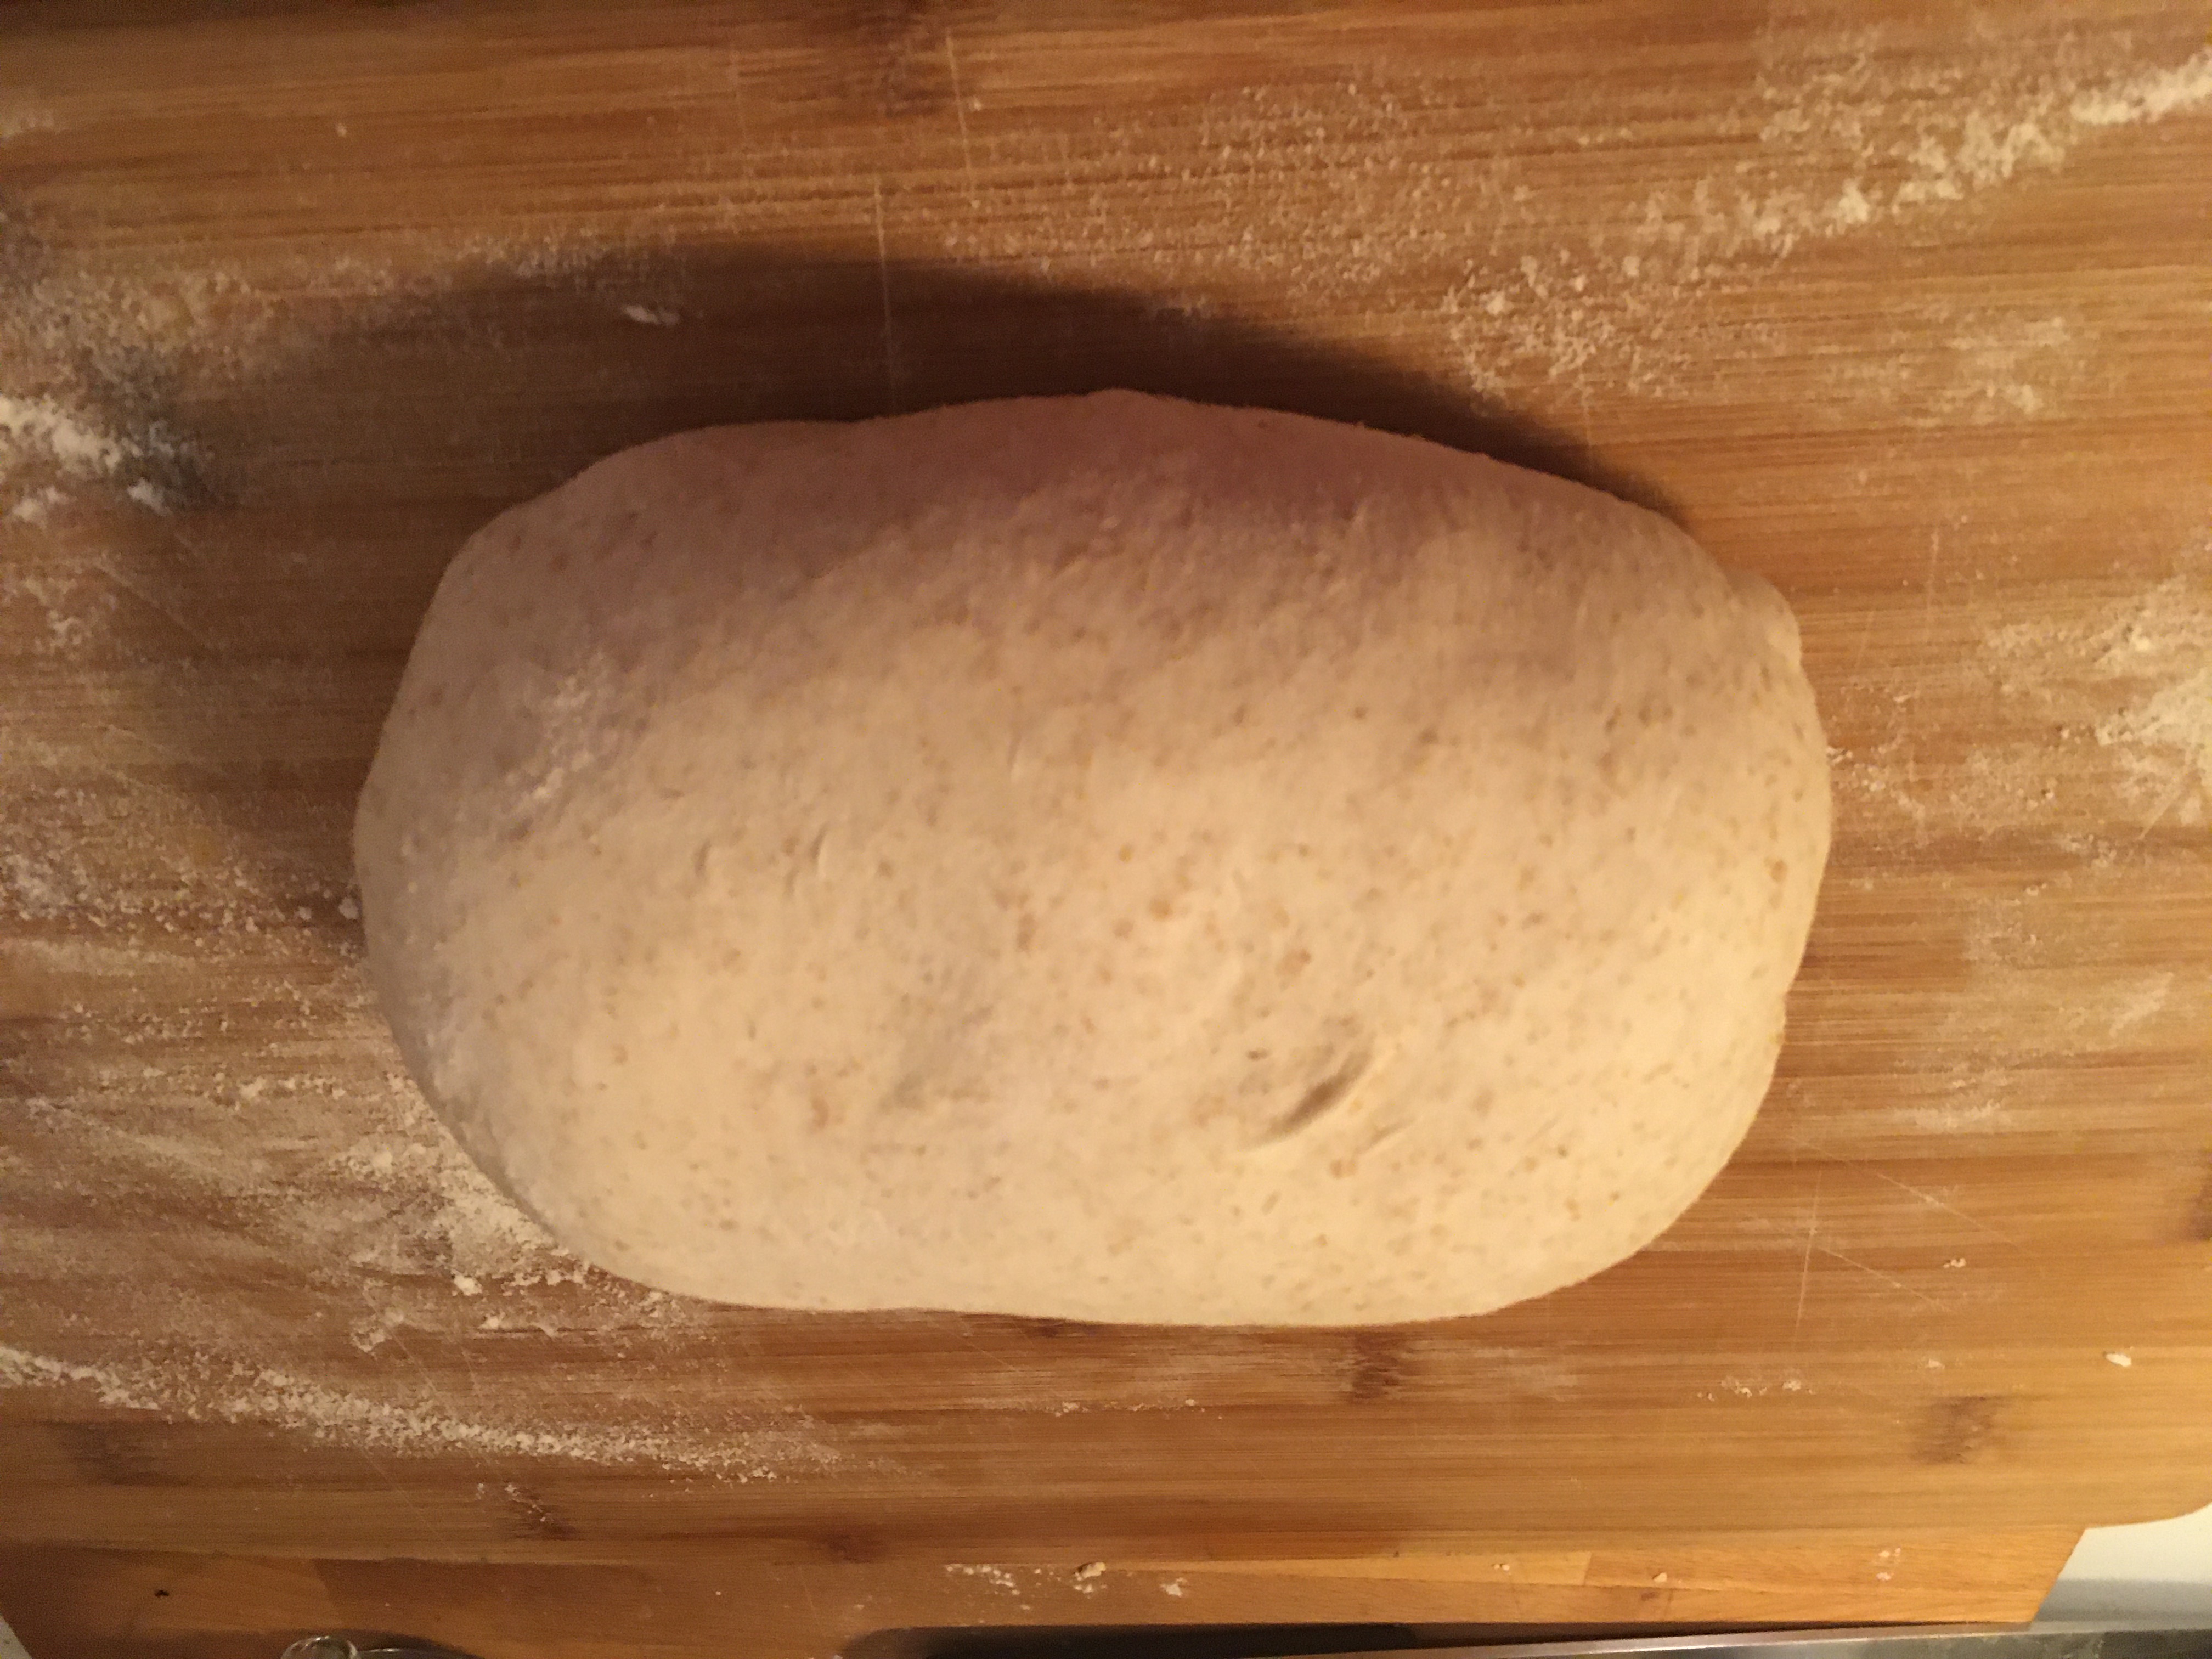
Bulk Fermentation #
After folding, the dough needs to rest for a period of time; 2-3 hours in my kitchen in the winter. This lets the yeast do its thing, digesting starches, making gas bubbles, and adding yummy flavour. The dough should grow by maybe 50%.
There are a few techniques for telling if a loaf is under-proofed, over-proofed, or just right. But a loaf that is under or over proofed by half an hour or more is still going to taste just as good, so I don’t worry too much about it.
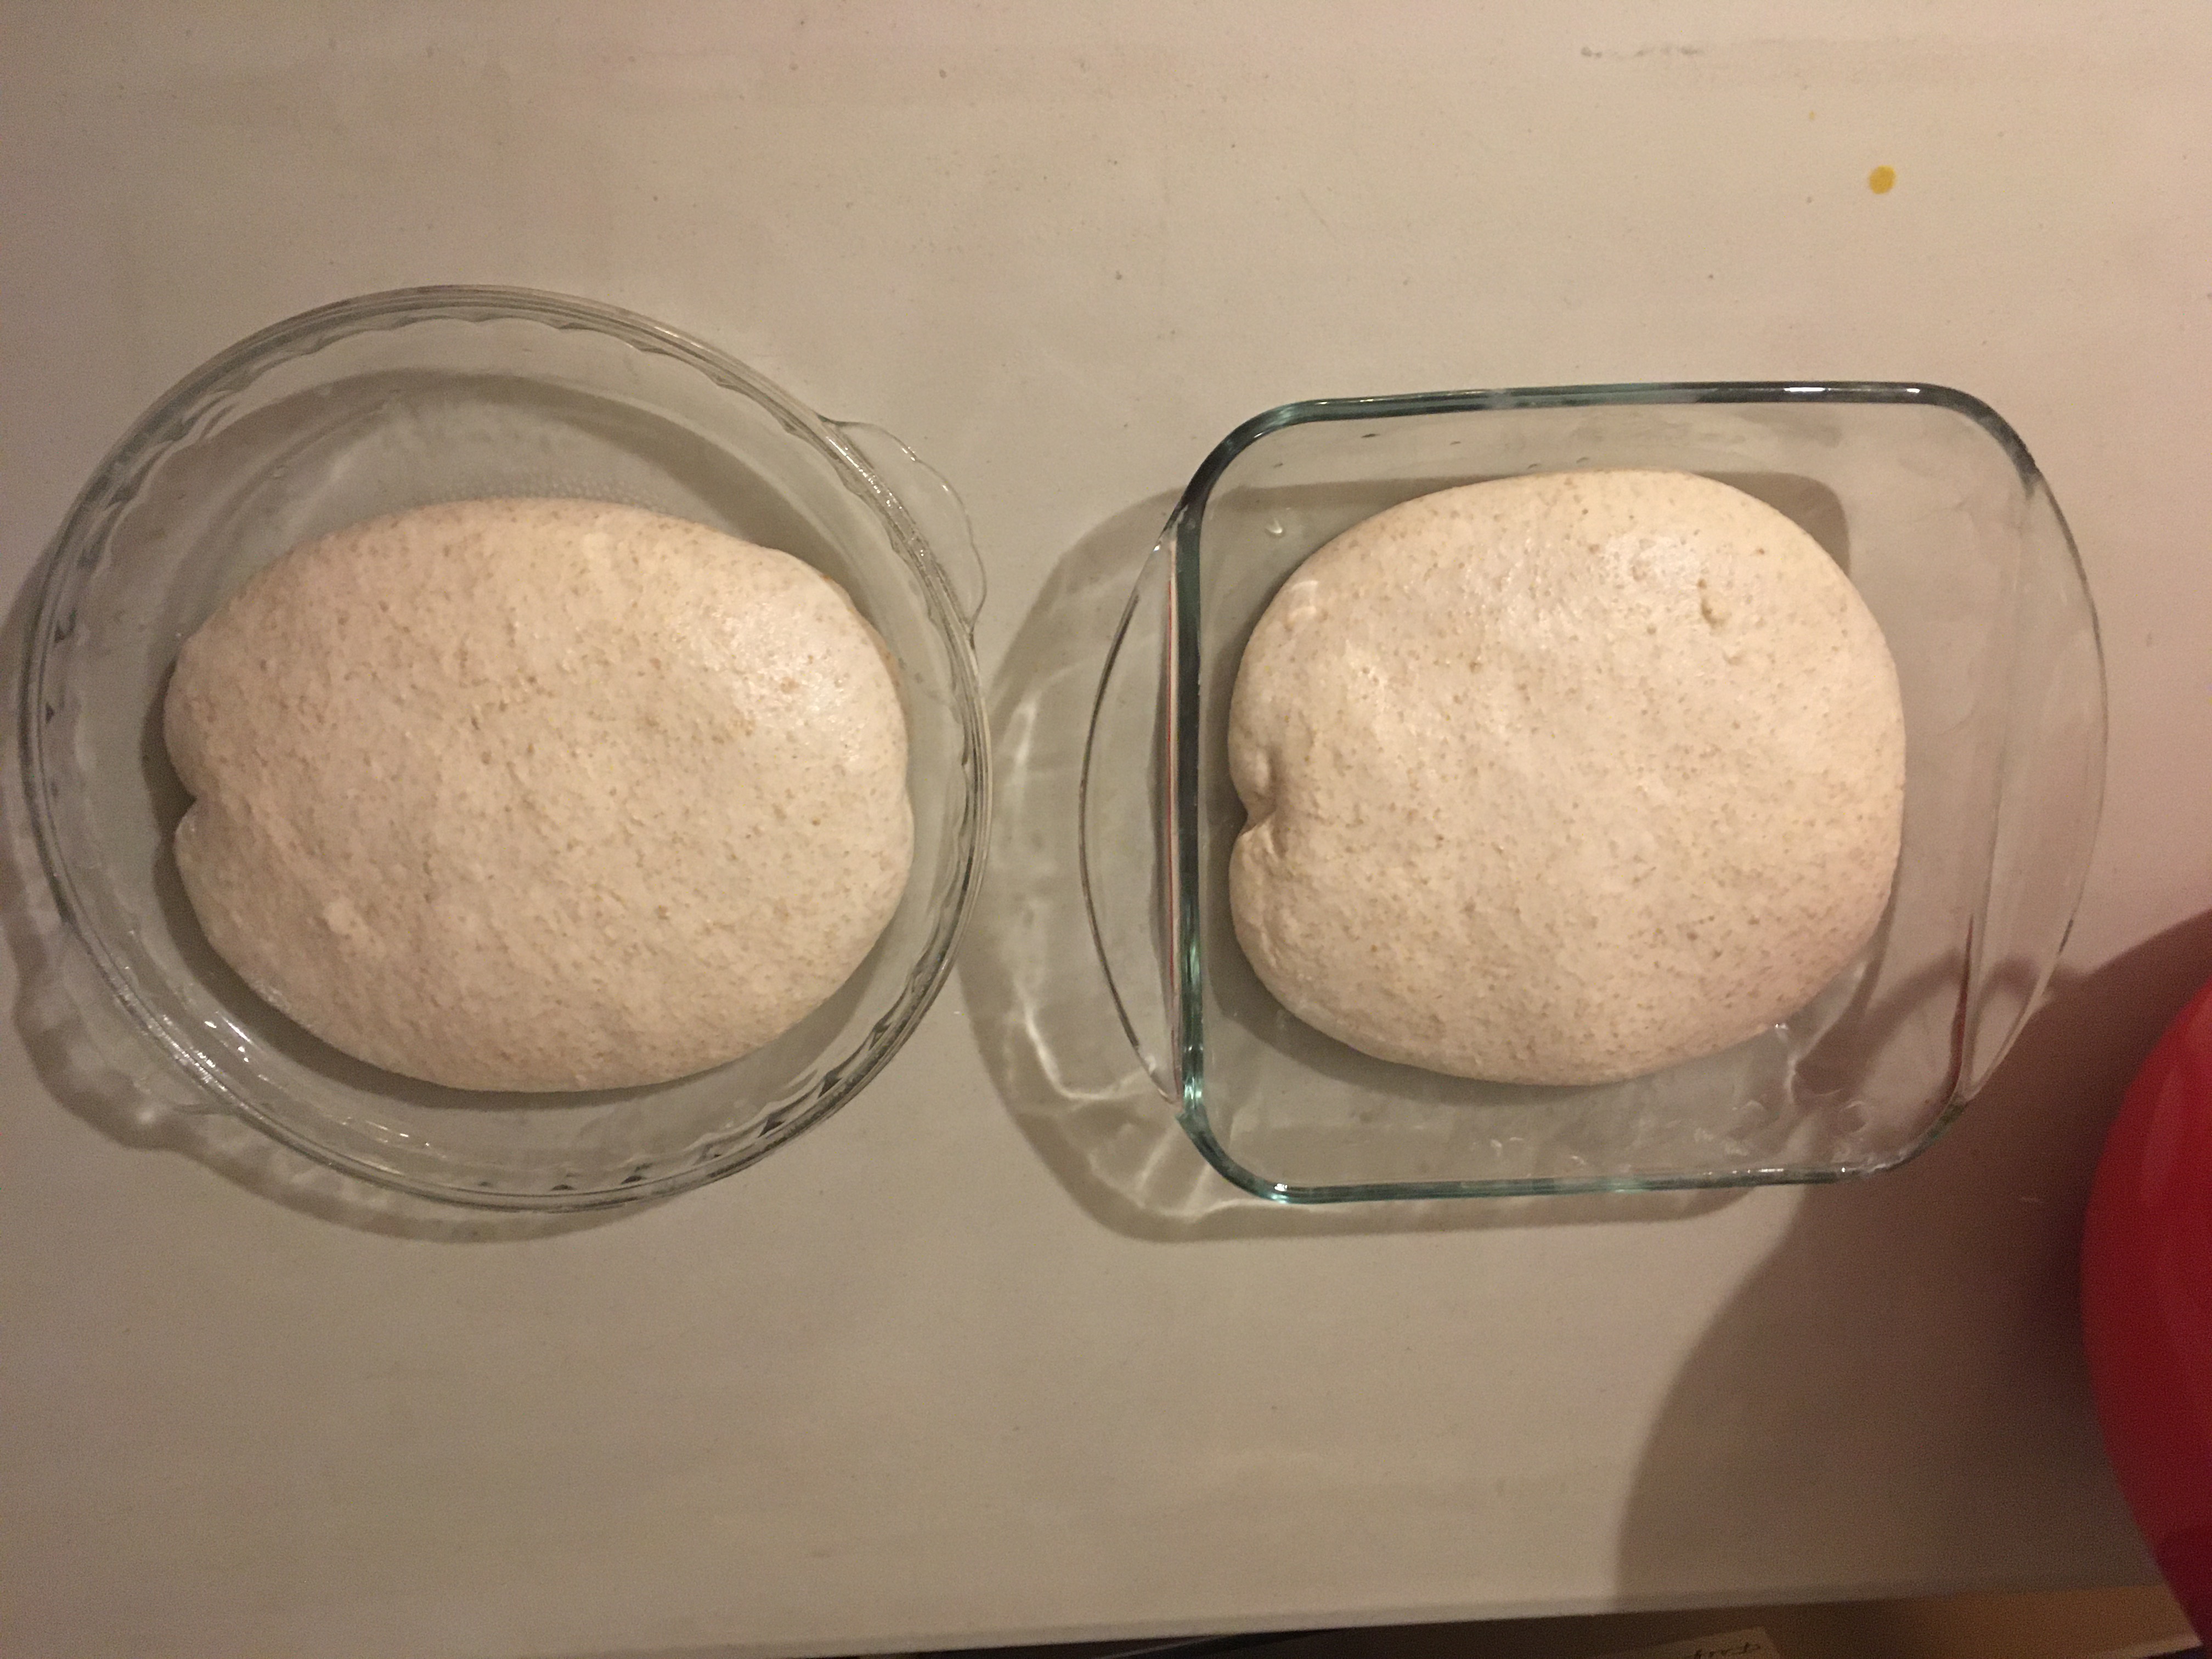
After coil folds and bulk fermentation. Notice the size increase and how smooth and developed the dough looks now:
Forming the Boules #
The dough must be shaped. Again, there are a million techniques for this. I use the one from Home Grown Happiness shown here:
Basically:
- carefully remove the dough from the glass dishes used for coil folding onto a lightly floured surface. You want enough so that it doesn’t stick to the counter or cutting board, but not so much that the dough no longer sticks to itself! I loosen the edges, then turn the dish upside down and let gravity do the work.
- Fold and stretch the dough as seen in the video until you have a lovely loaf-shaped baby ready to go. It’ll have a smooth floured side (the top) and a sticky side (the bottom, or seam).
- Use rice flour (or regular flour if you don’t have any) to line your banneton (or a bowl lined with parchment paper works too).
- Place the loaf, seam side up, in the basket. You can add a little more flour around the edges where the loaf meets the basket to prevent sticking.
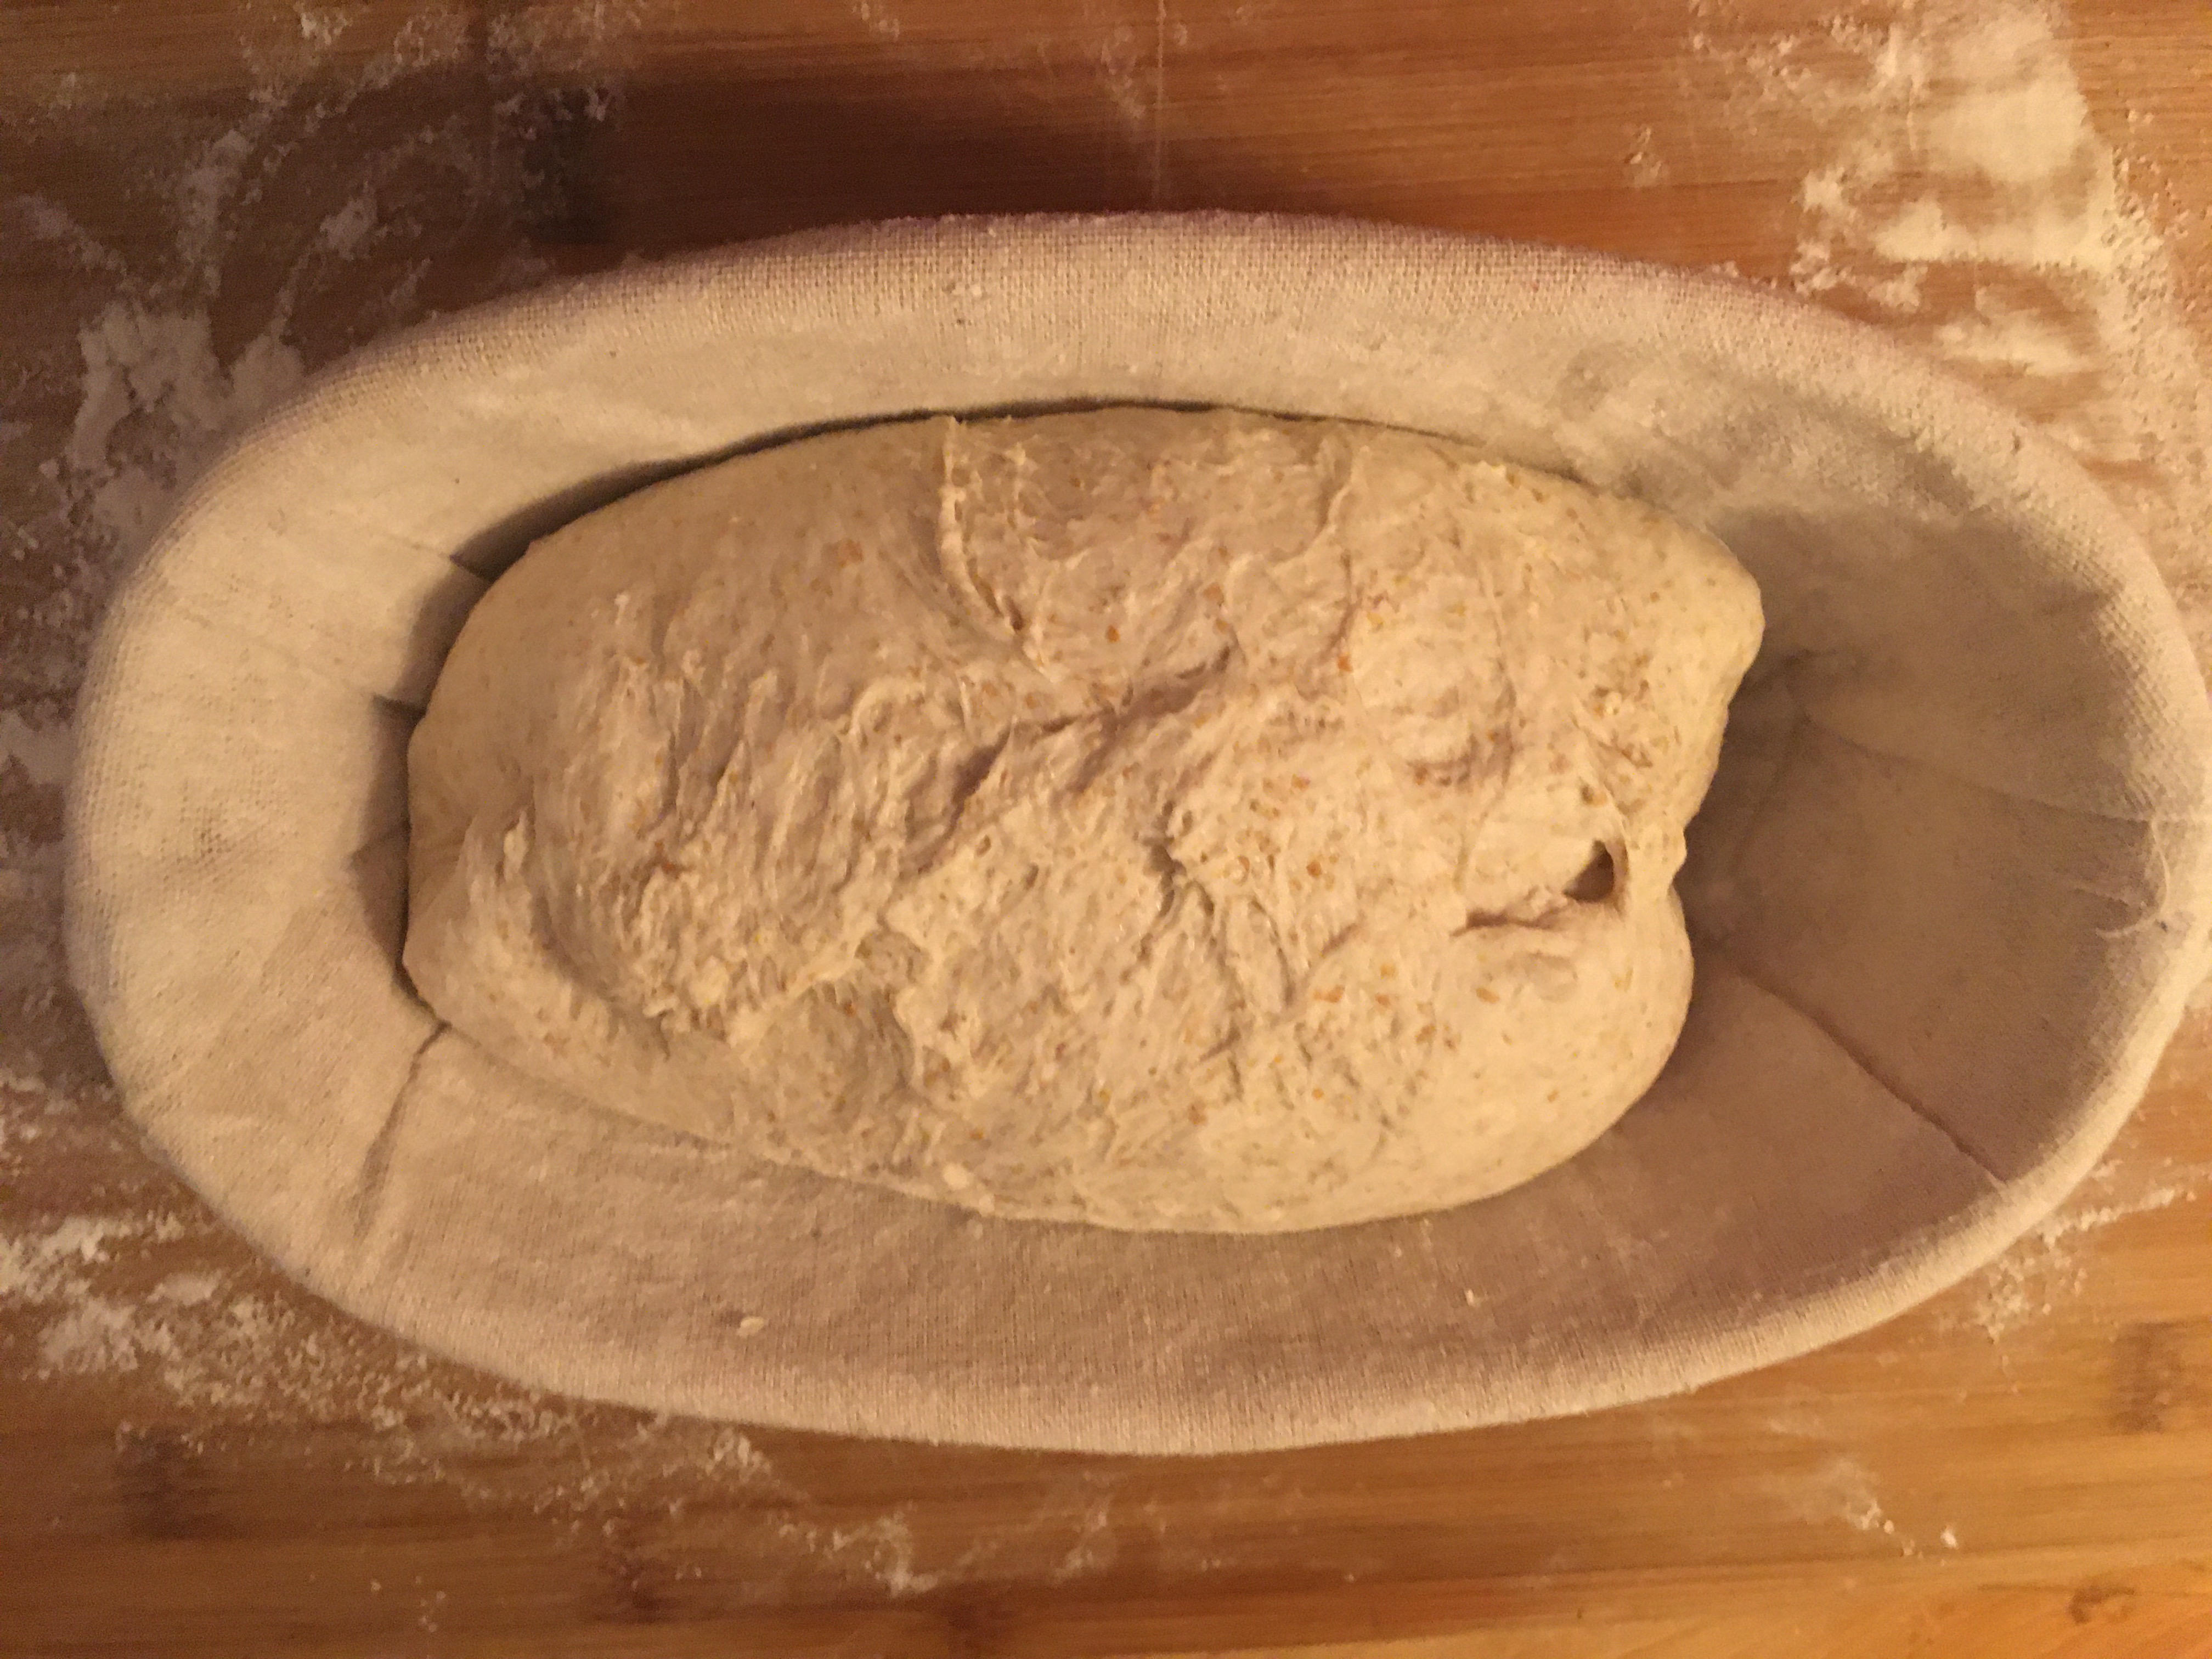
Into the fridge #
The loaf goes into a basket, wrapped in a plastic bag (to prevent drying) and into the fridge overnight. This allows the yeast to continue to ferment slowly (without overproofing the dough) adding more flavour. Also a cold loaf is easier to manipulate in the morning when it’s tme to bake.
Baking Time #
Summary #
- Place a dutch oven in your oven and pre-heat to 450°F.
- Remove a loaf from its proofing basket.
- Score the loaf.
- Place in the dutch oven, cover, and bake for 20 minutes.
- Remove the lid and bake for another 20-25 minutes.
- Remove the loaf from the oven and let cool completely.
Details #
Place a cast iron dutch oven with lid into your oven, and pre-heat to 450°F. Let it sit at temperature for 15-30 minutes to make sure the dutch oven is nice and hot. You can do two at the same time, if you have two dutch ovens ;)
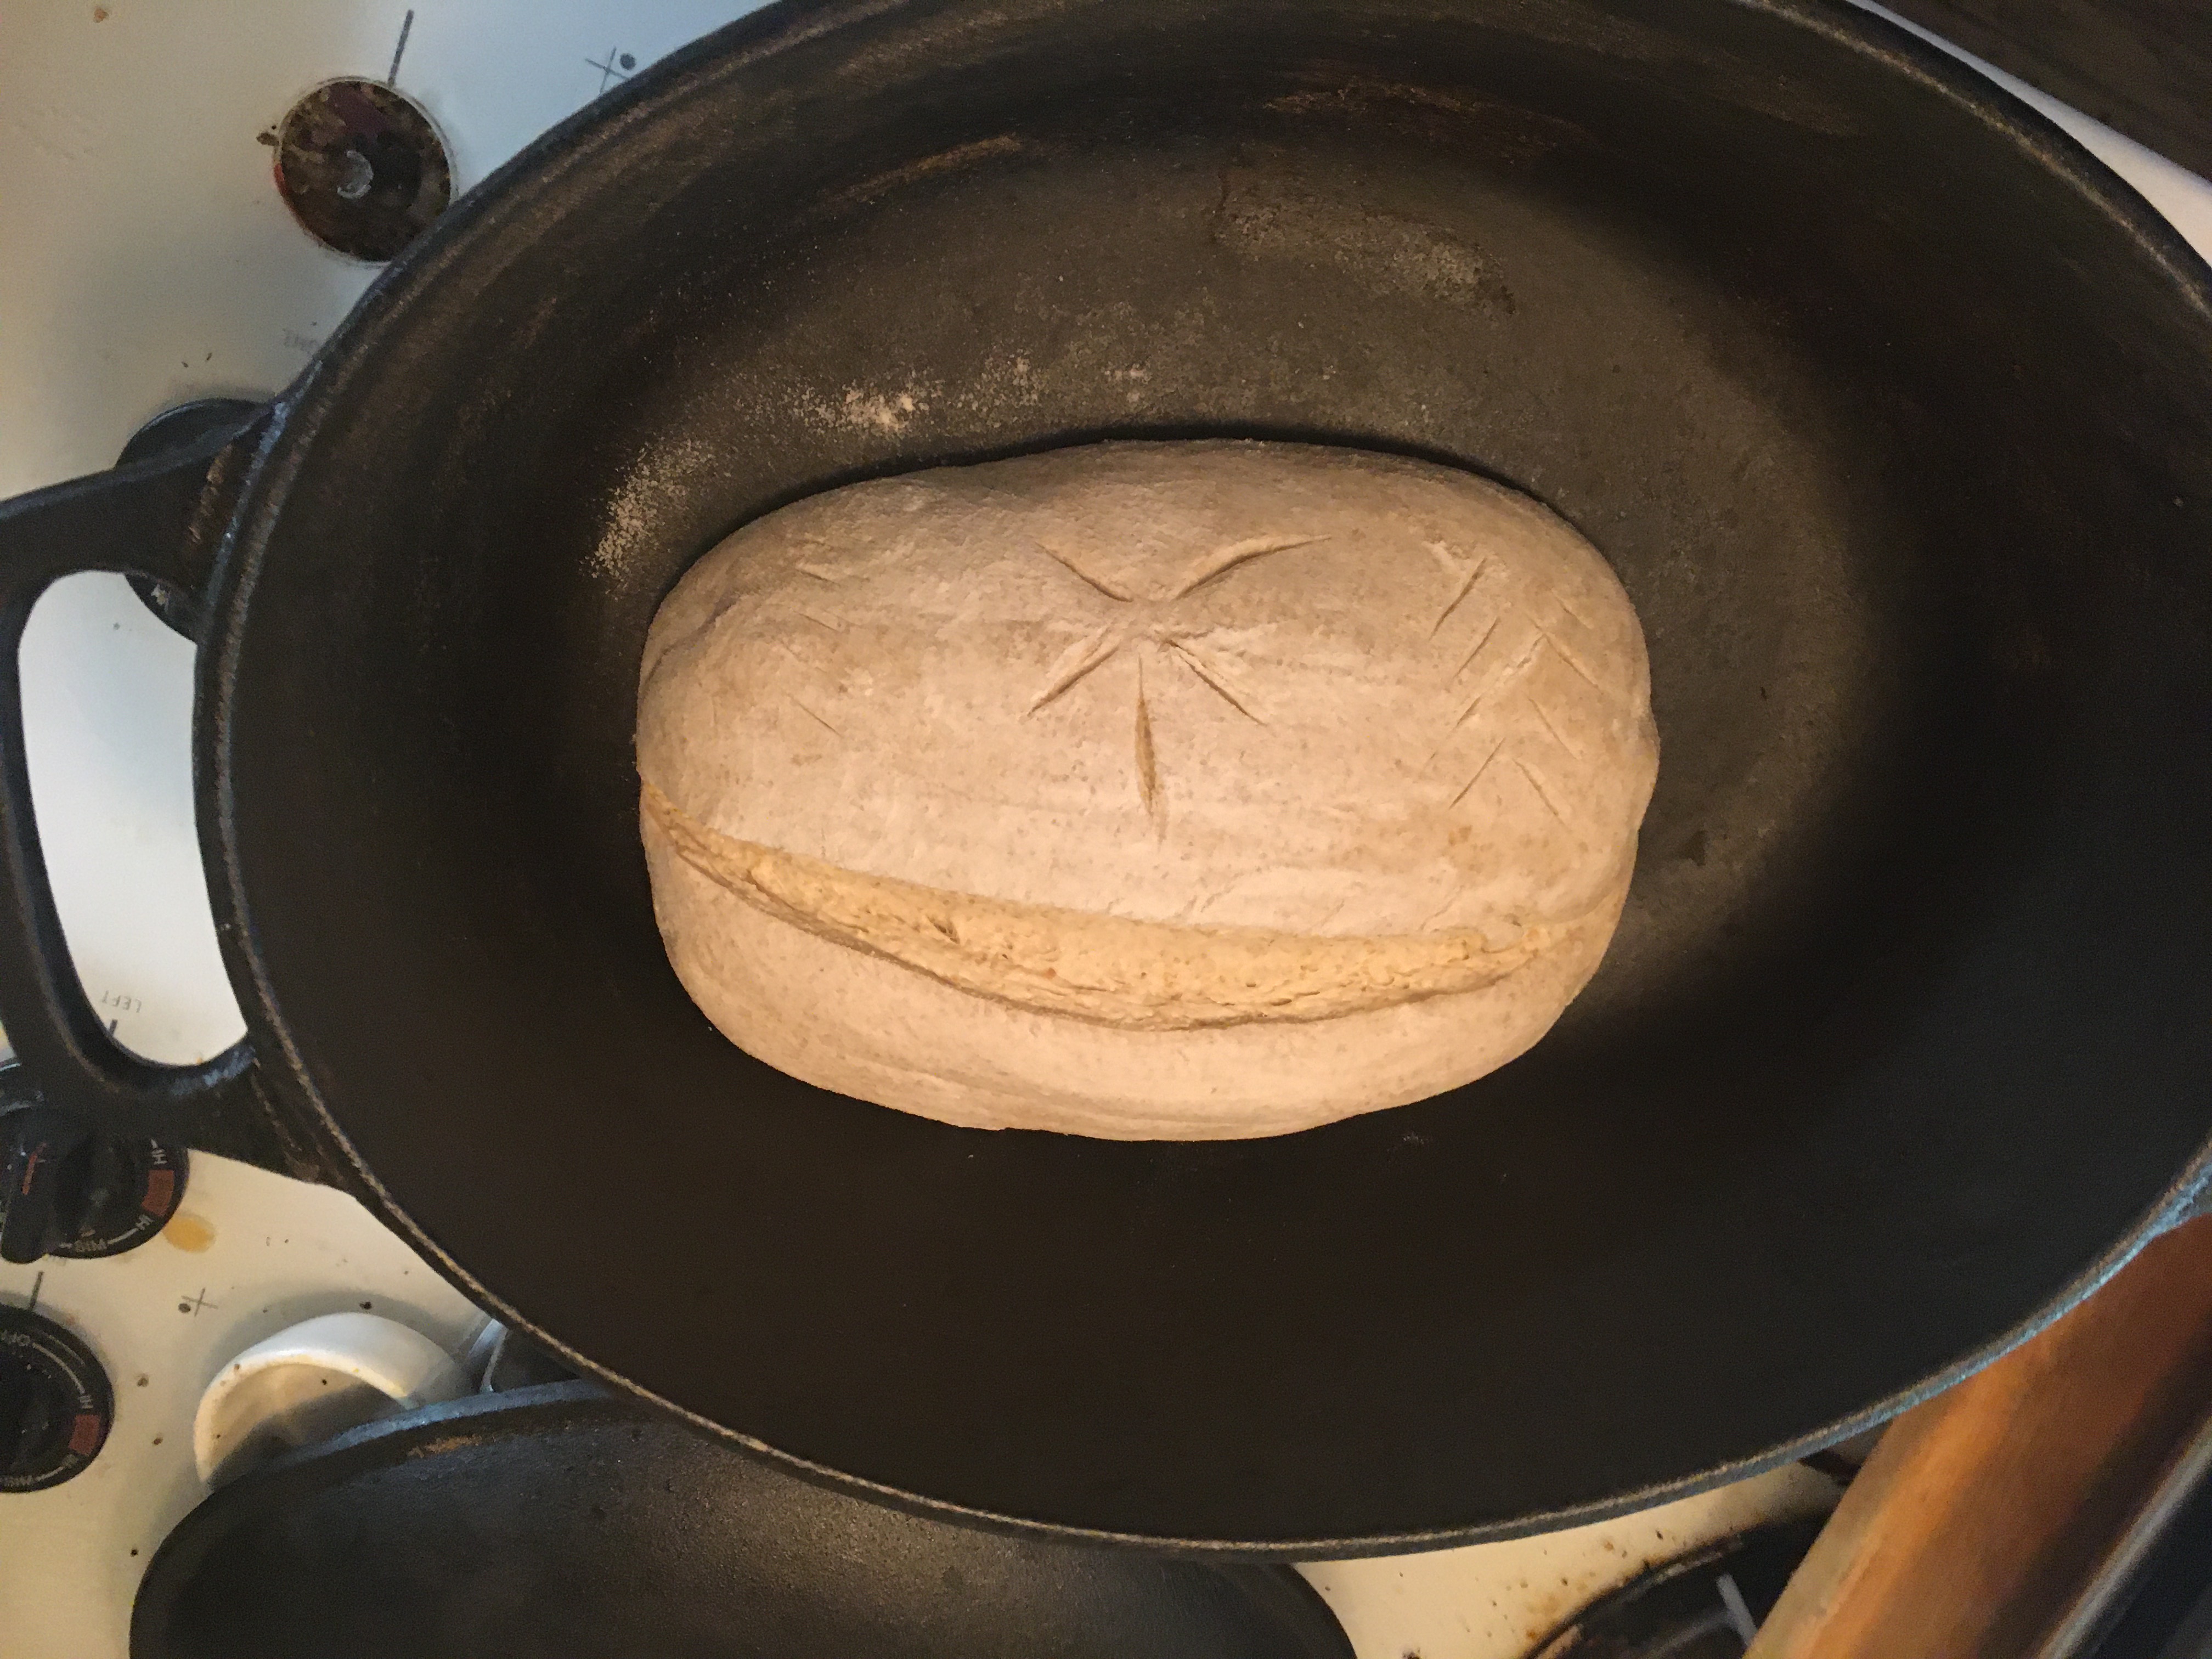
Remove a loaf from the fridge. Carefully turn it out of the proofing basket (or bowl), seam side down, onto a lightly floured surface.
Using a sharp knife or preferably a lame, which is a razor blade held in a special handle so you don’t chop your fingers, cut into the loaf in a single, firm, slashing motion. You can also add decorations with light slashes:
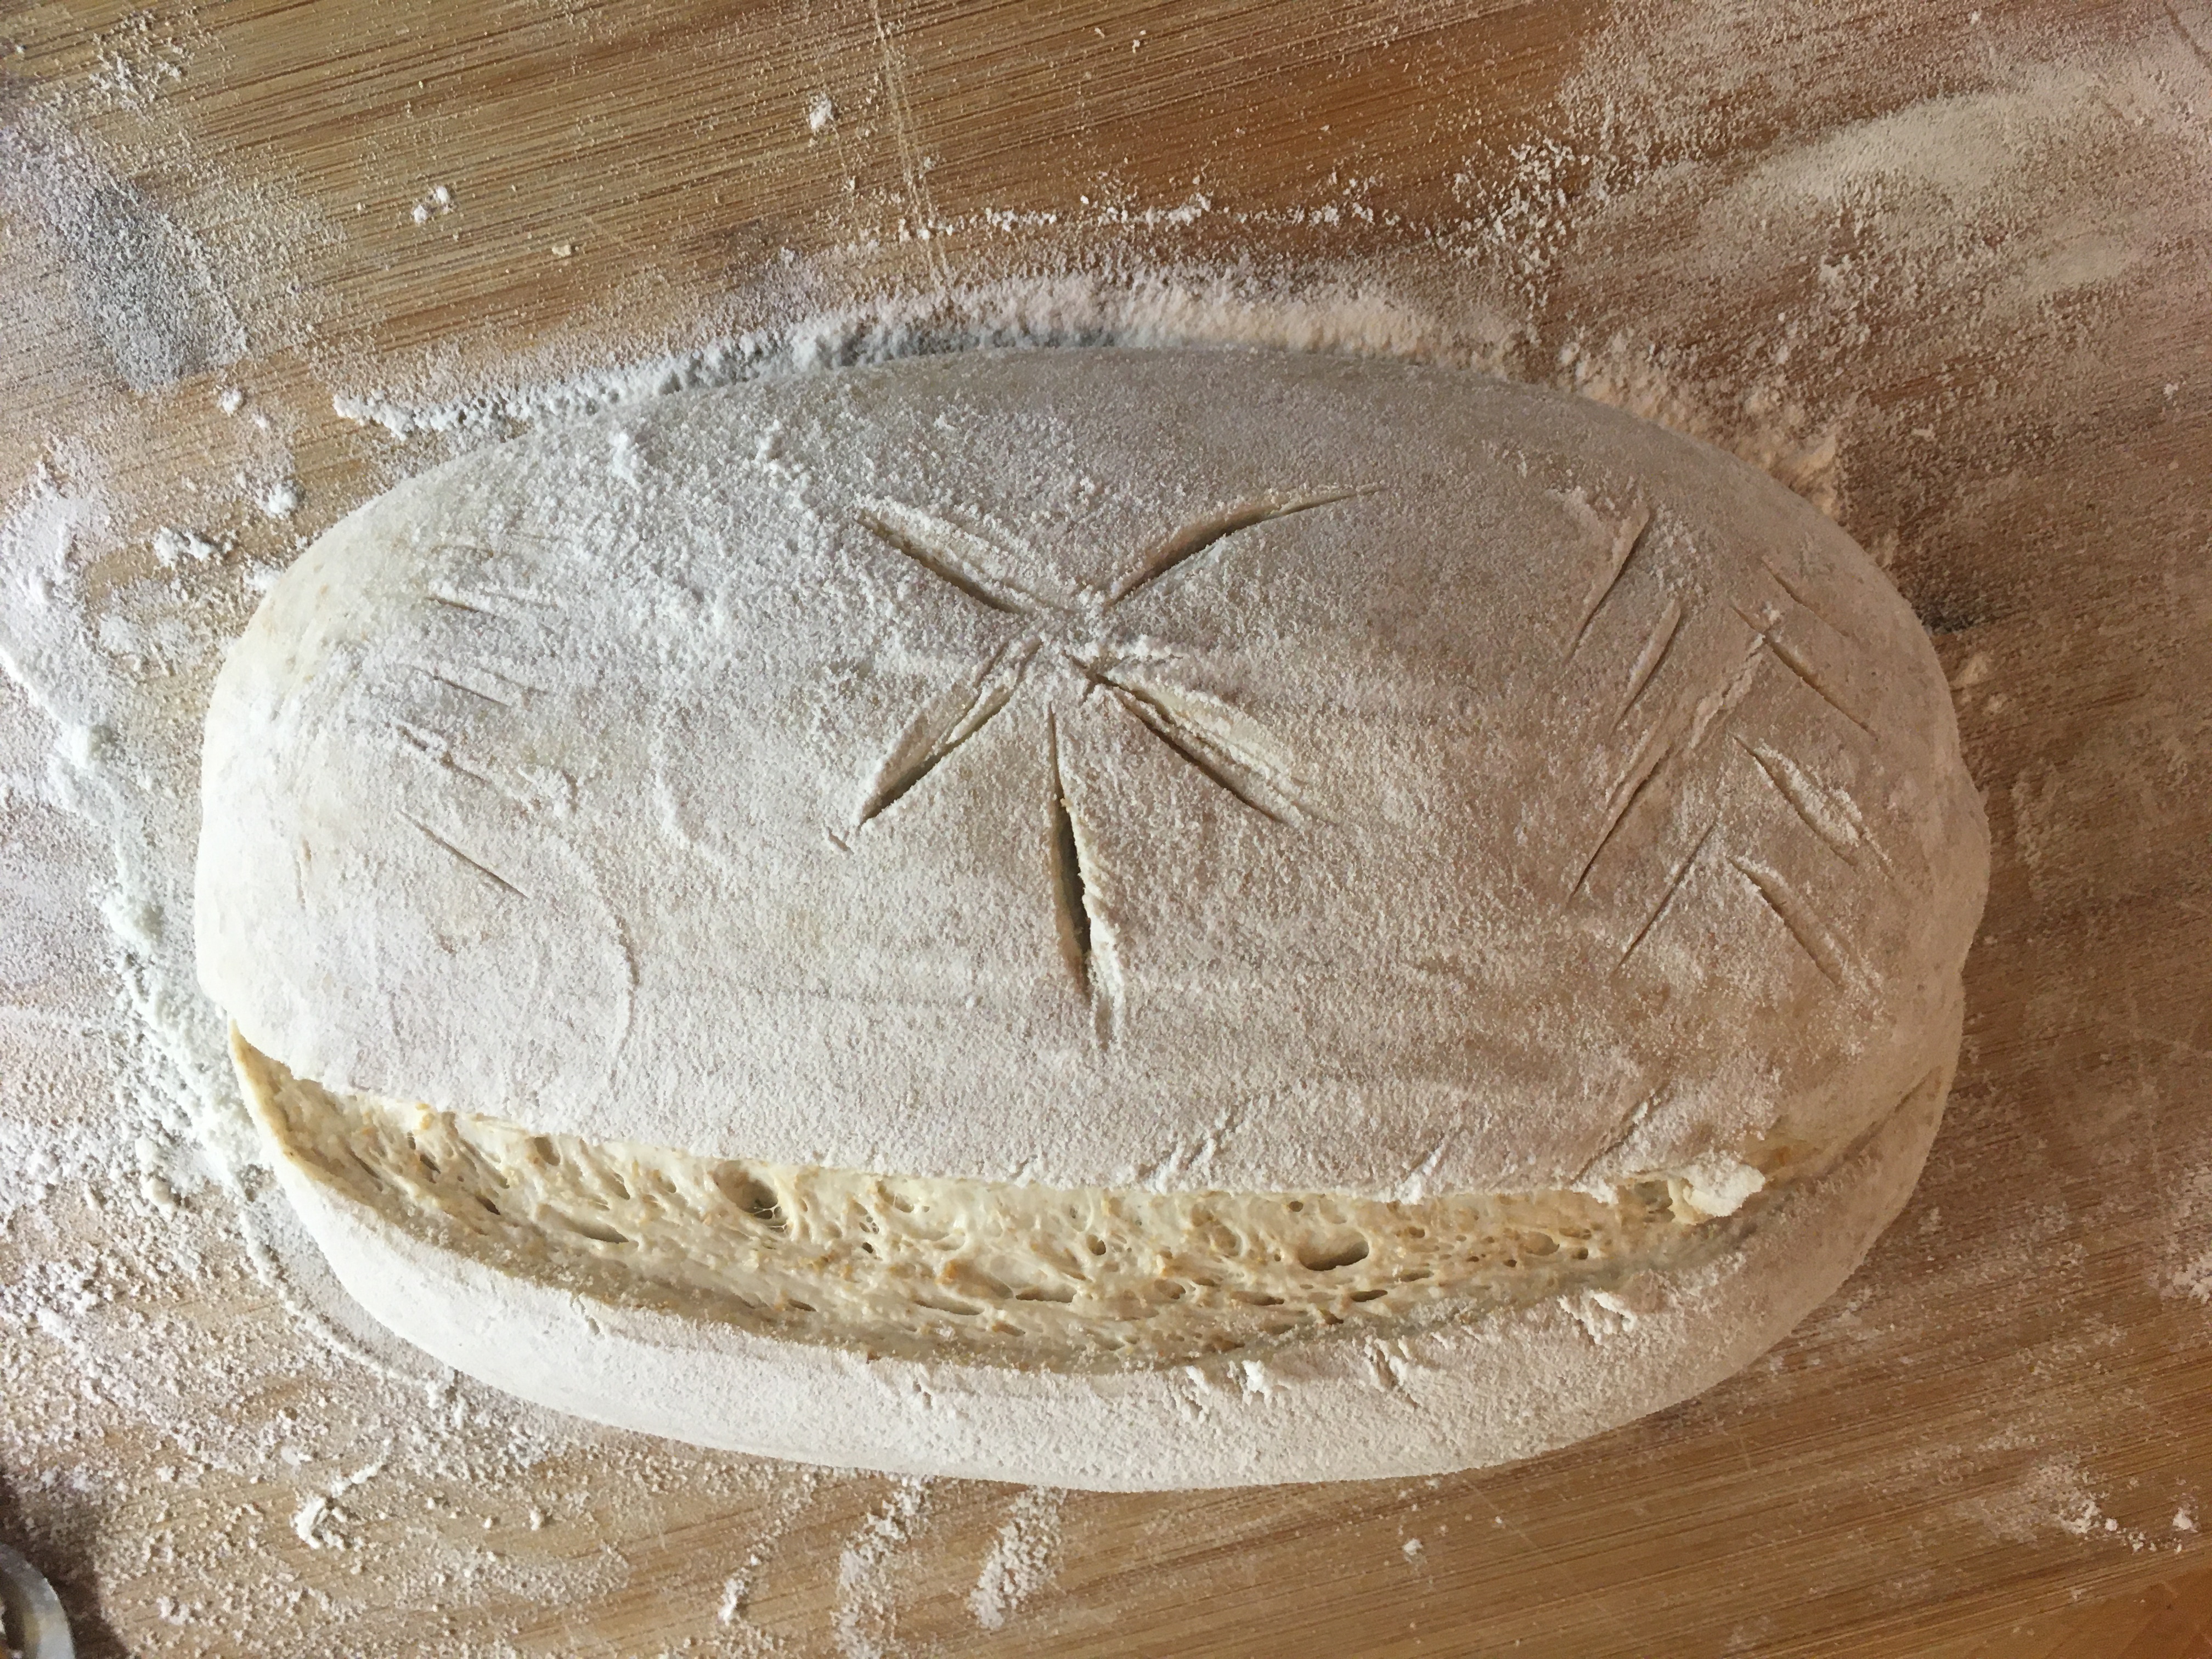
The deep cut gives the loaf room to expand in the oven; otherwise it will find a random weak spot in the “crust” and burst out there, giving you … strange shaped but still tasty bread.
Remove the dutch oven from your oven. Use your board scraper to gently lift the loaf and place it in the dutch oven. (Wear your oven mitts! Touching the molten side of the dutch oven is an experience…)
Put the lid back on, making sure it seals well, and place it back in the oven. Bake for 20 minutes. Baking inside a closed pot traps the steam from the loaf, keeping the outer crust soft and pliable. This allows the loaf to grow rapidly (so-called oven spring) without being trapped by a hard crust, creating that light, airy crumb characteristic of sourdough bread.
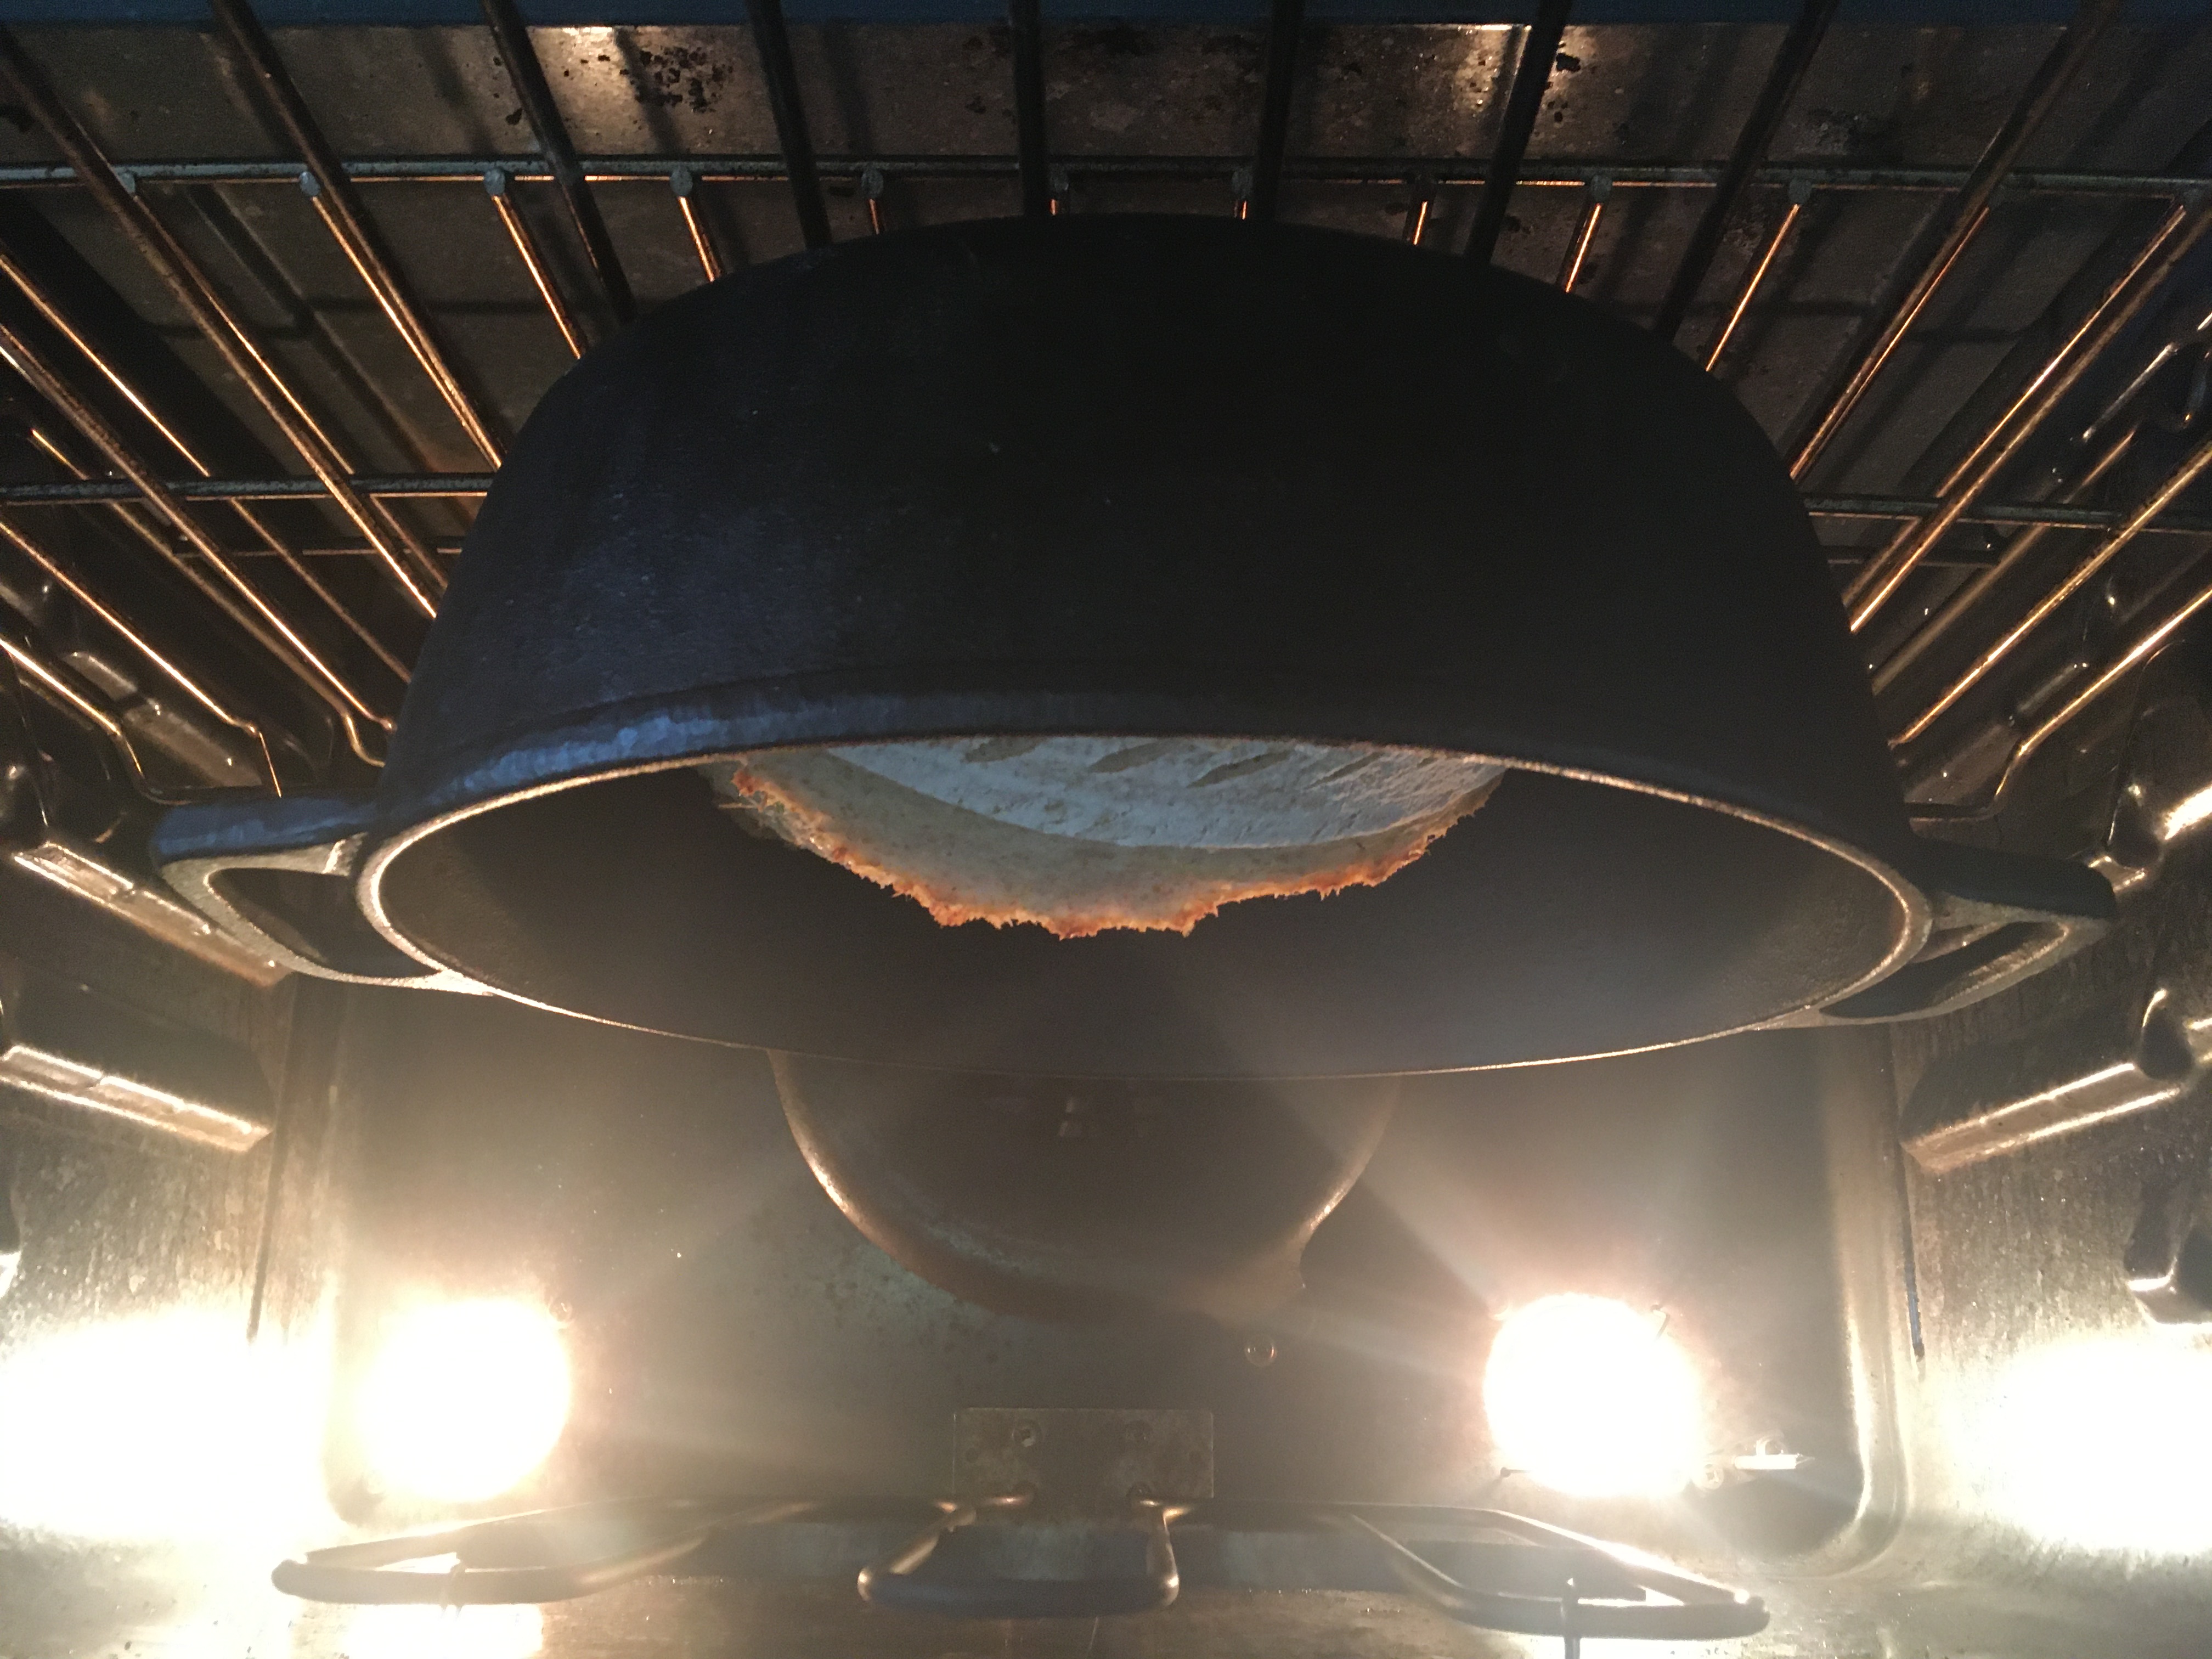
After 20 minutes, remove the lid. Bake for another 20-25 minutes until the crust is deeply brown and caramelized.
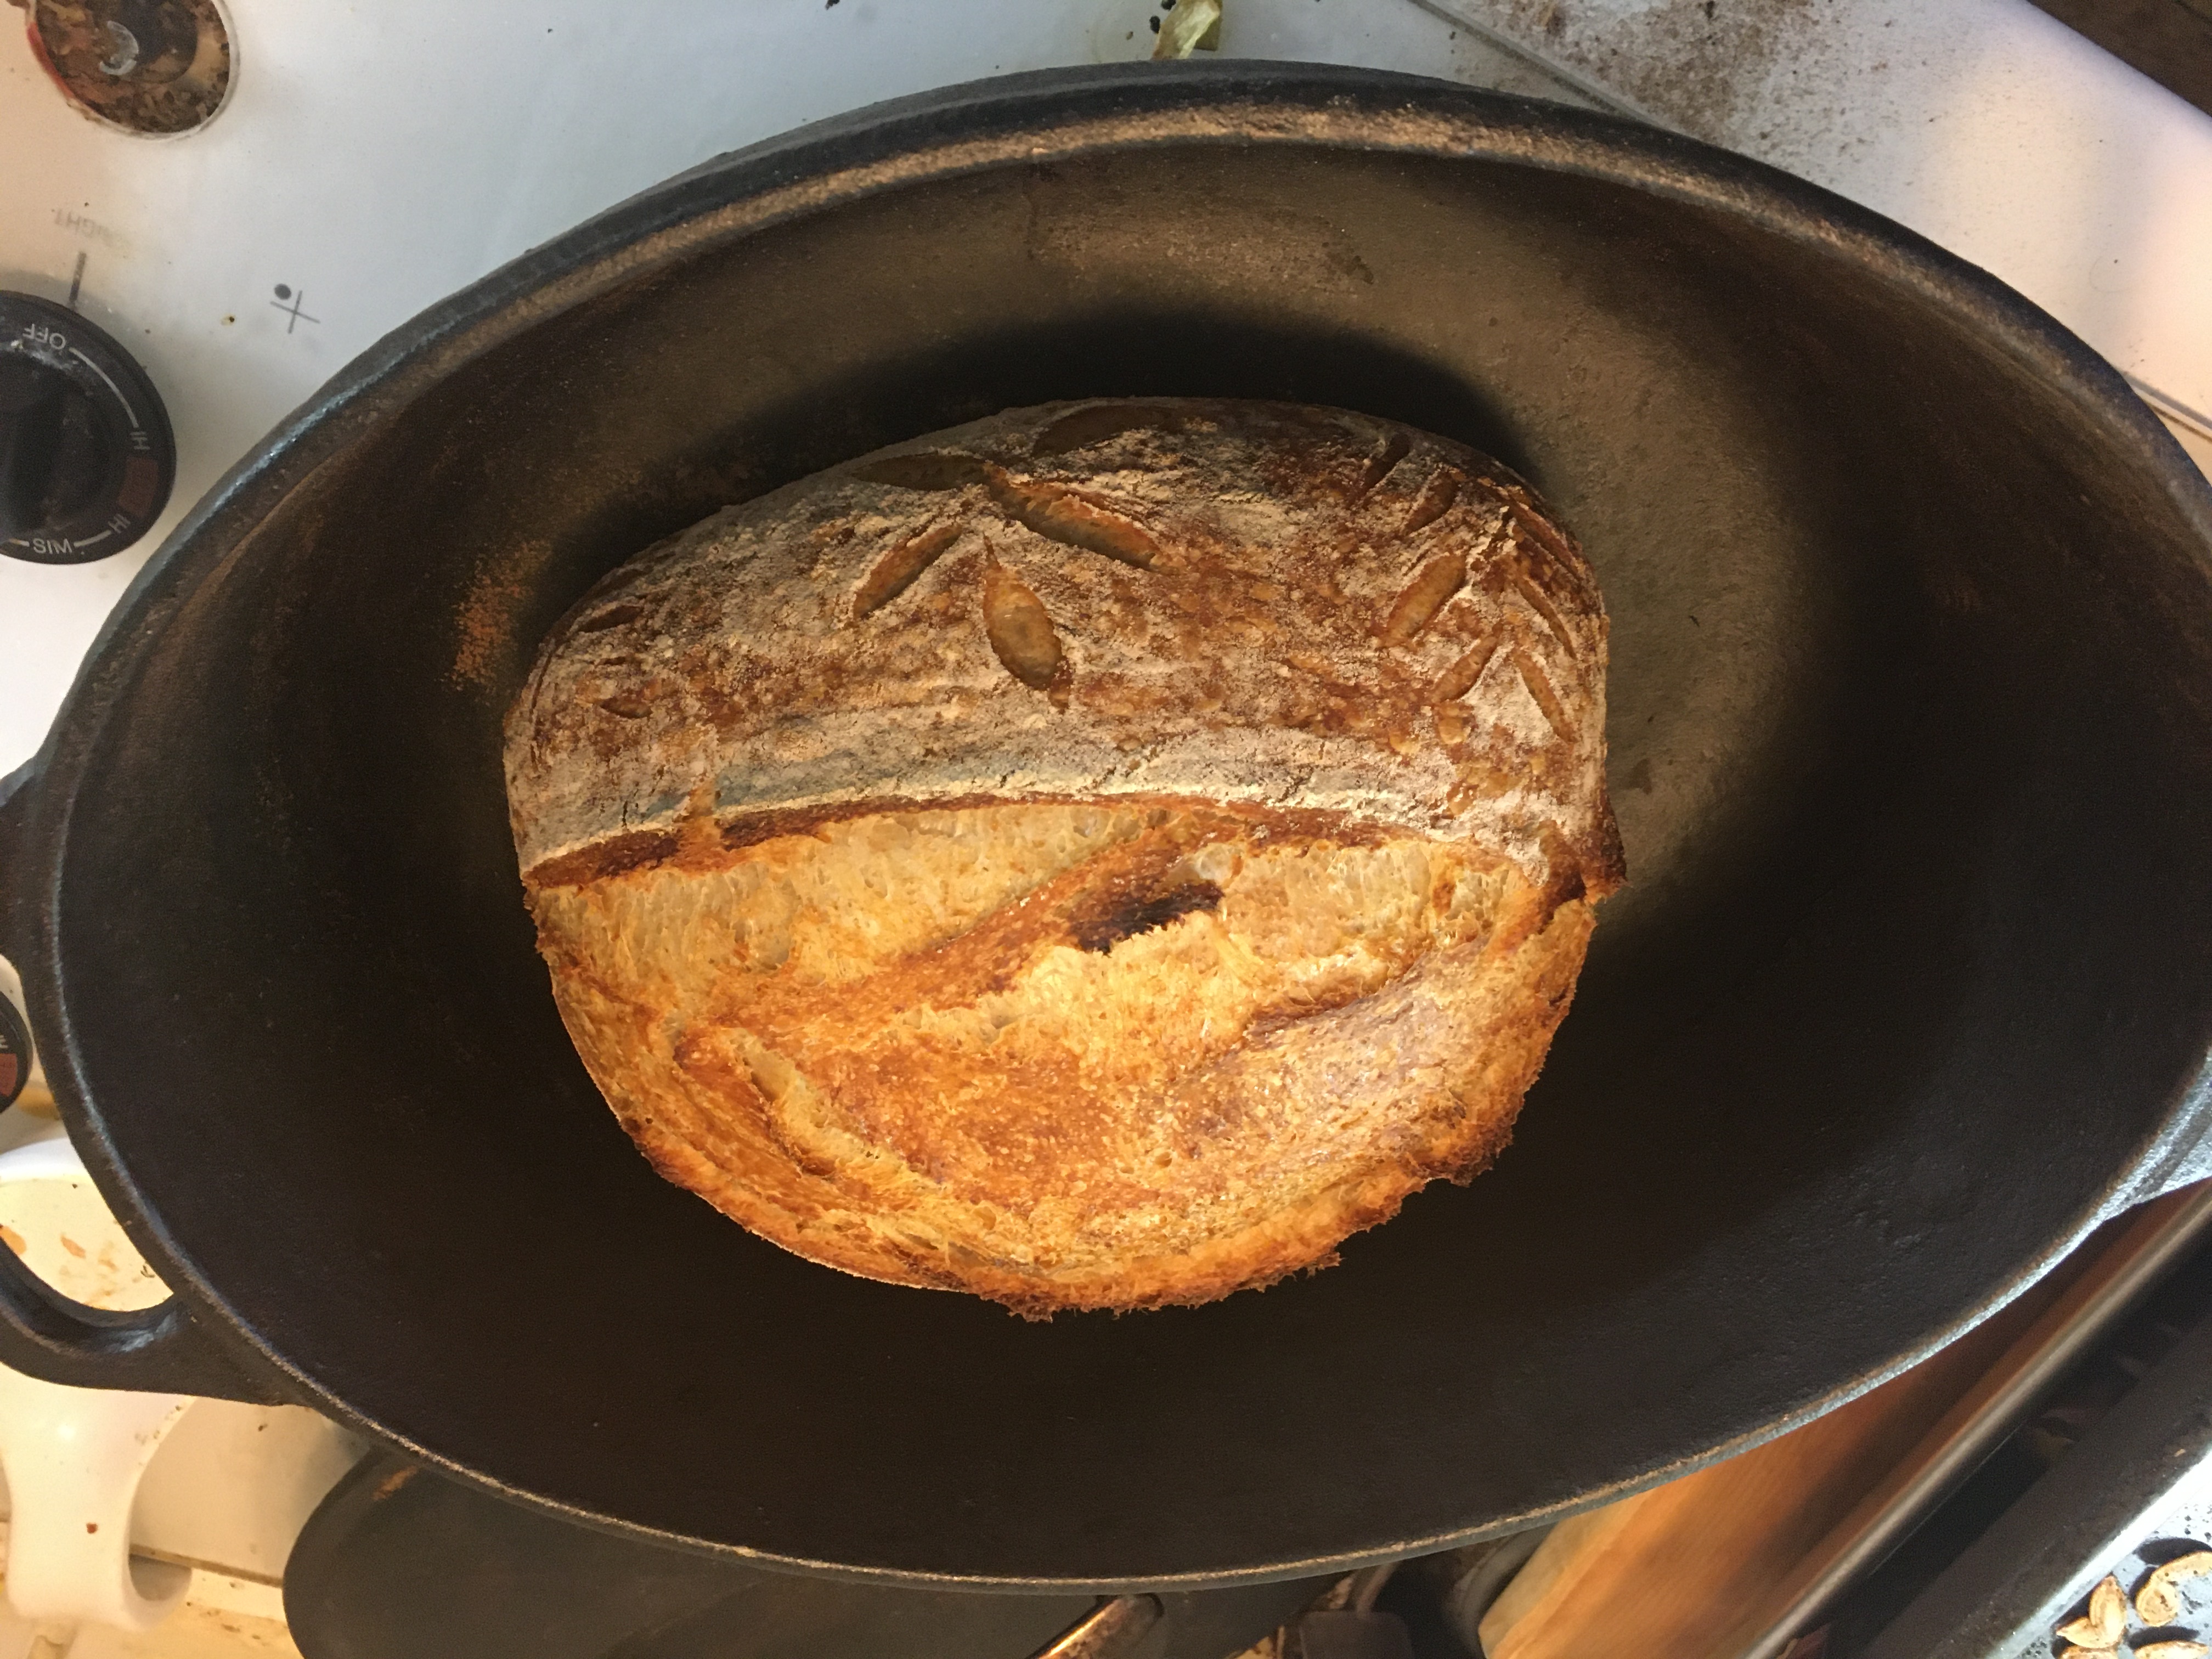
Remove from the oven and put the loaf on a cooling rack.
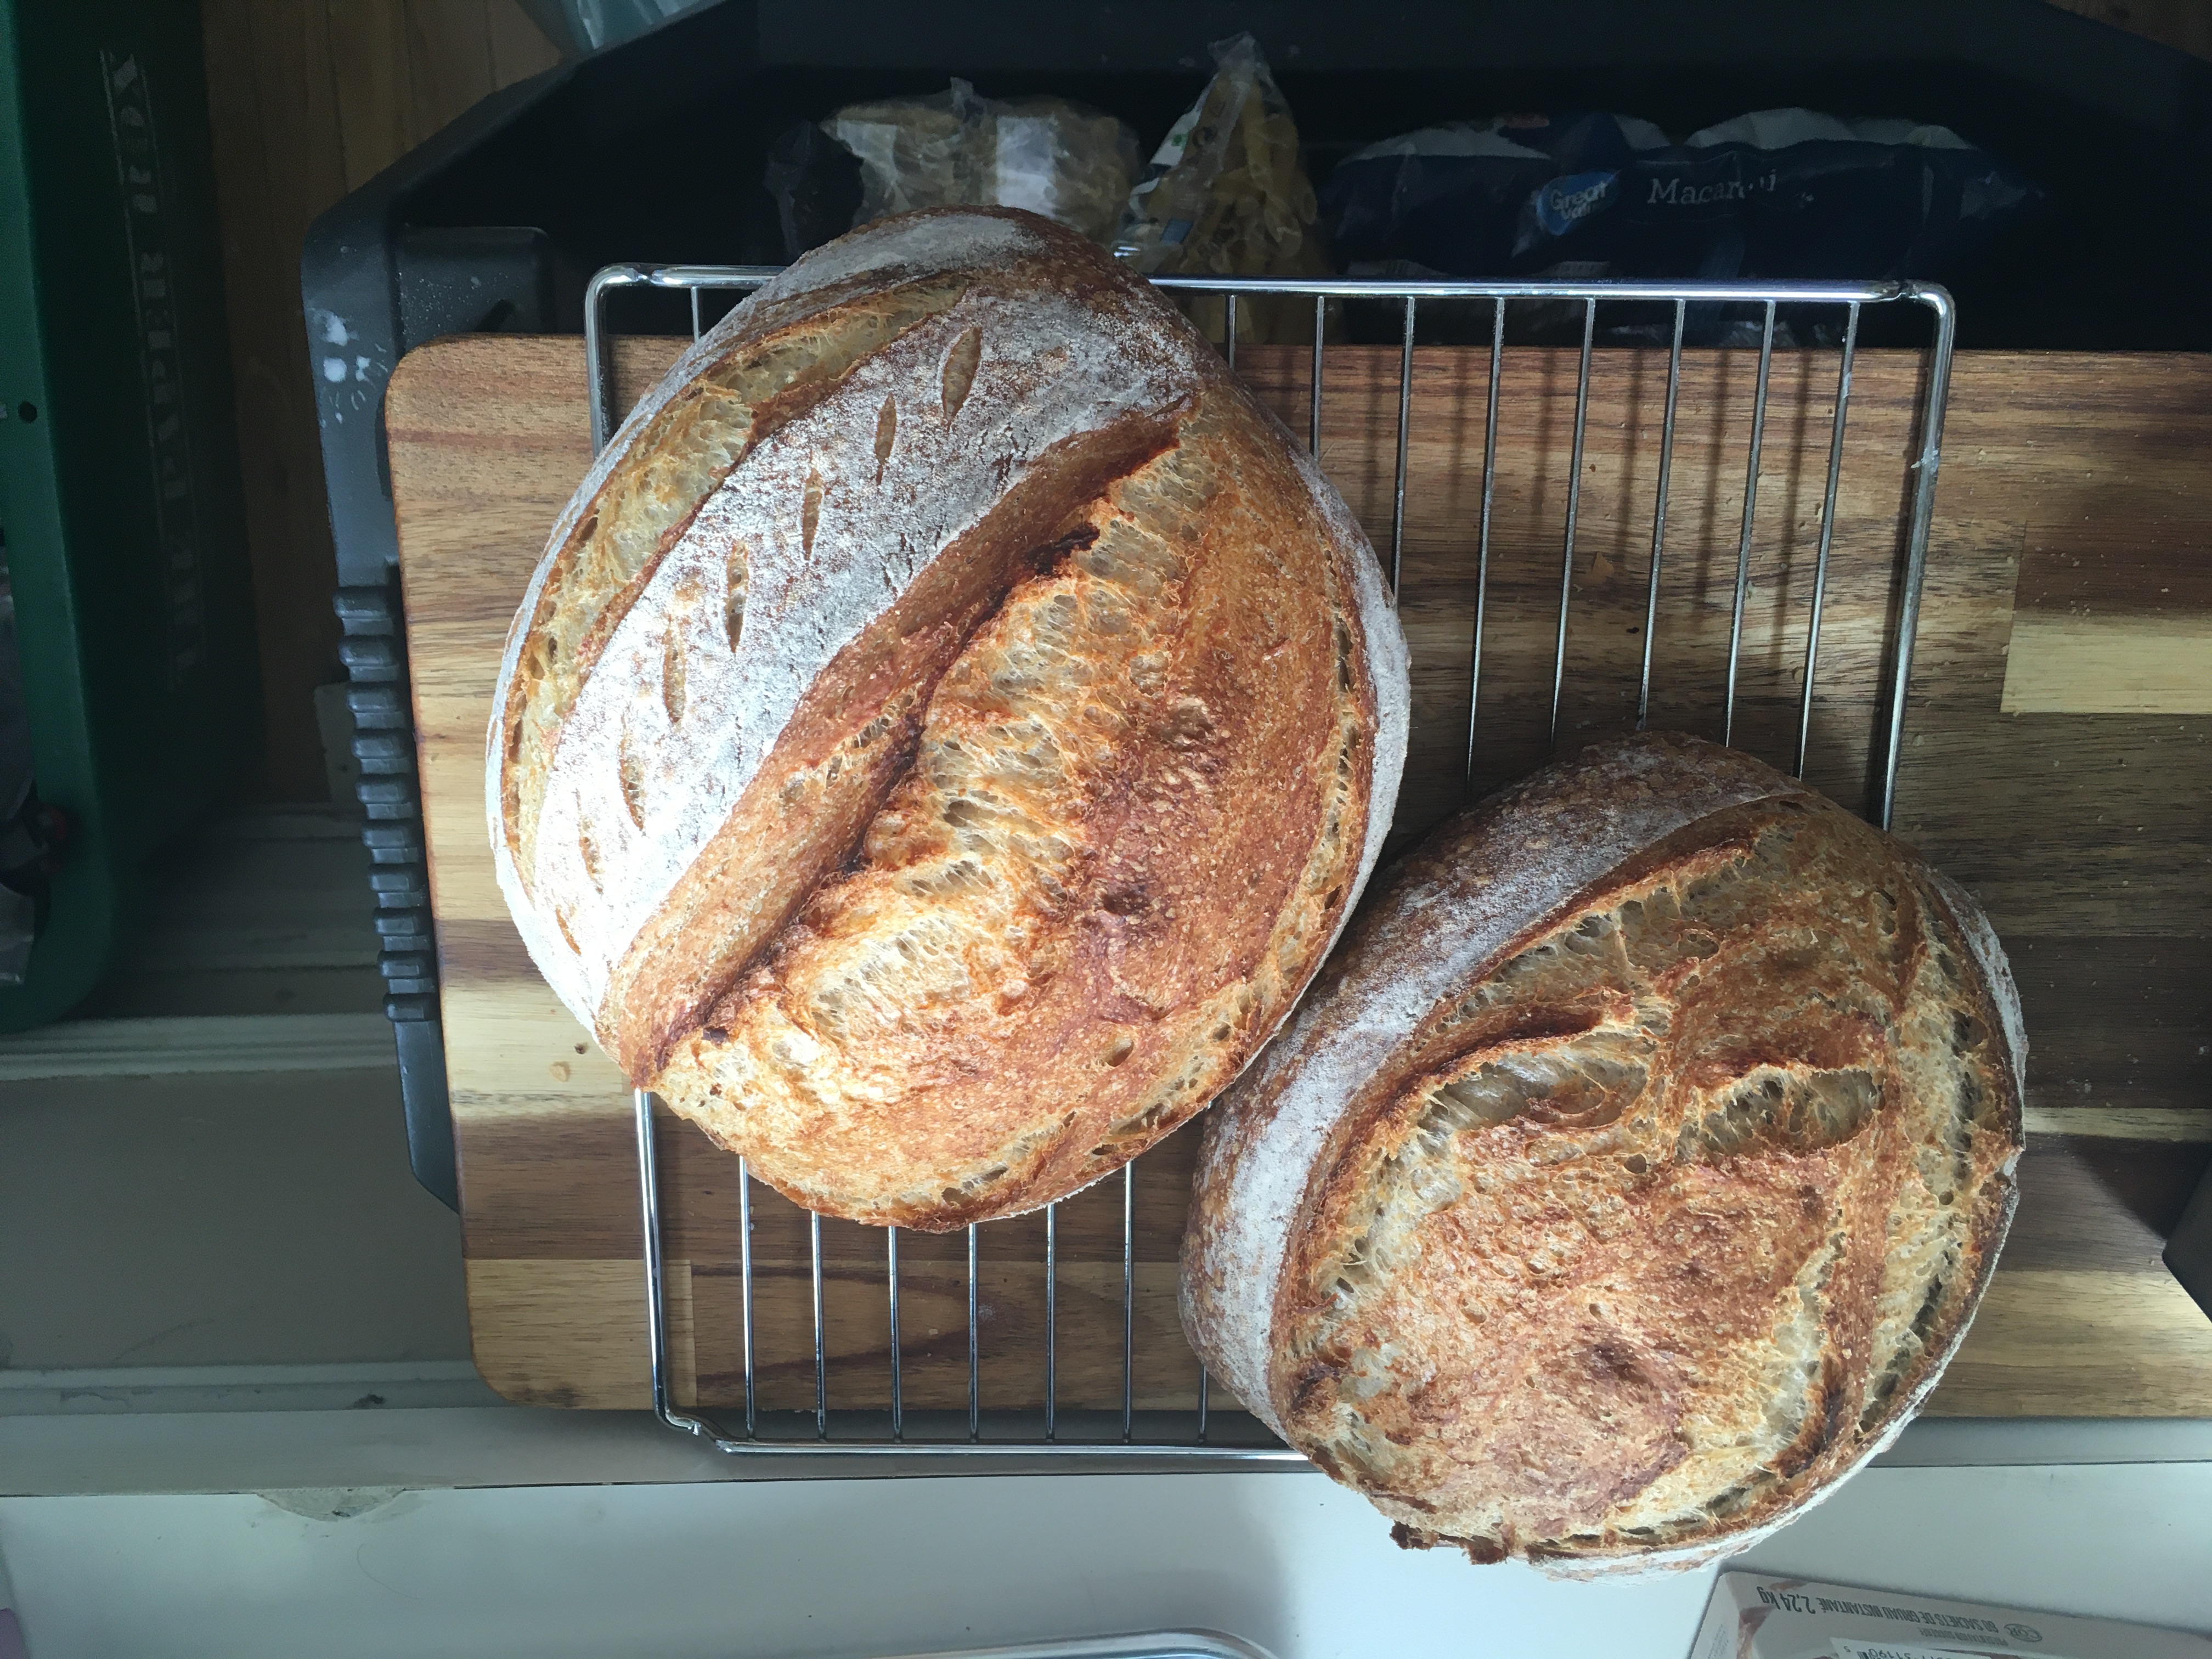
Allow to cool completely before slicing; the interior texture needs time to solidify after baking. A warm loaf will be too soft and “doughy” inside.
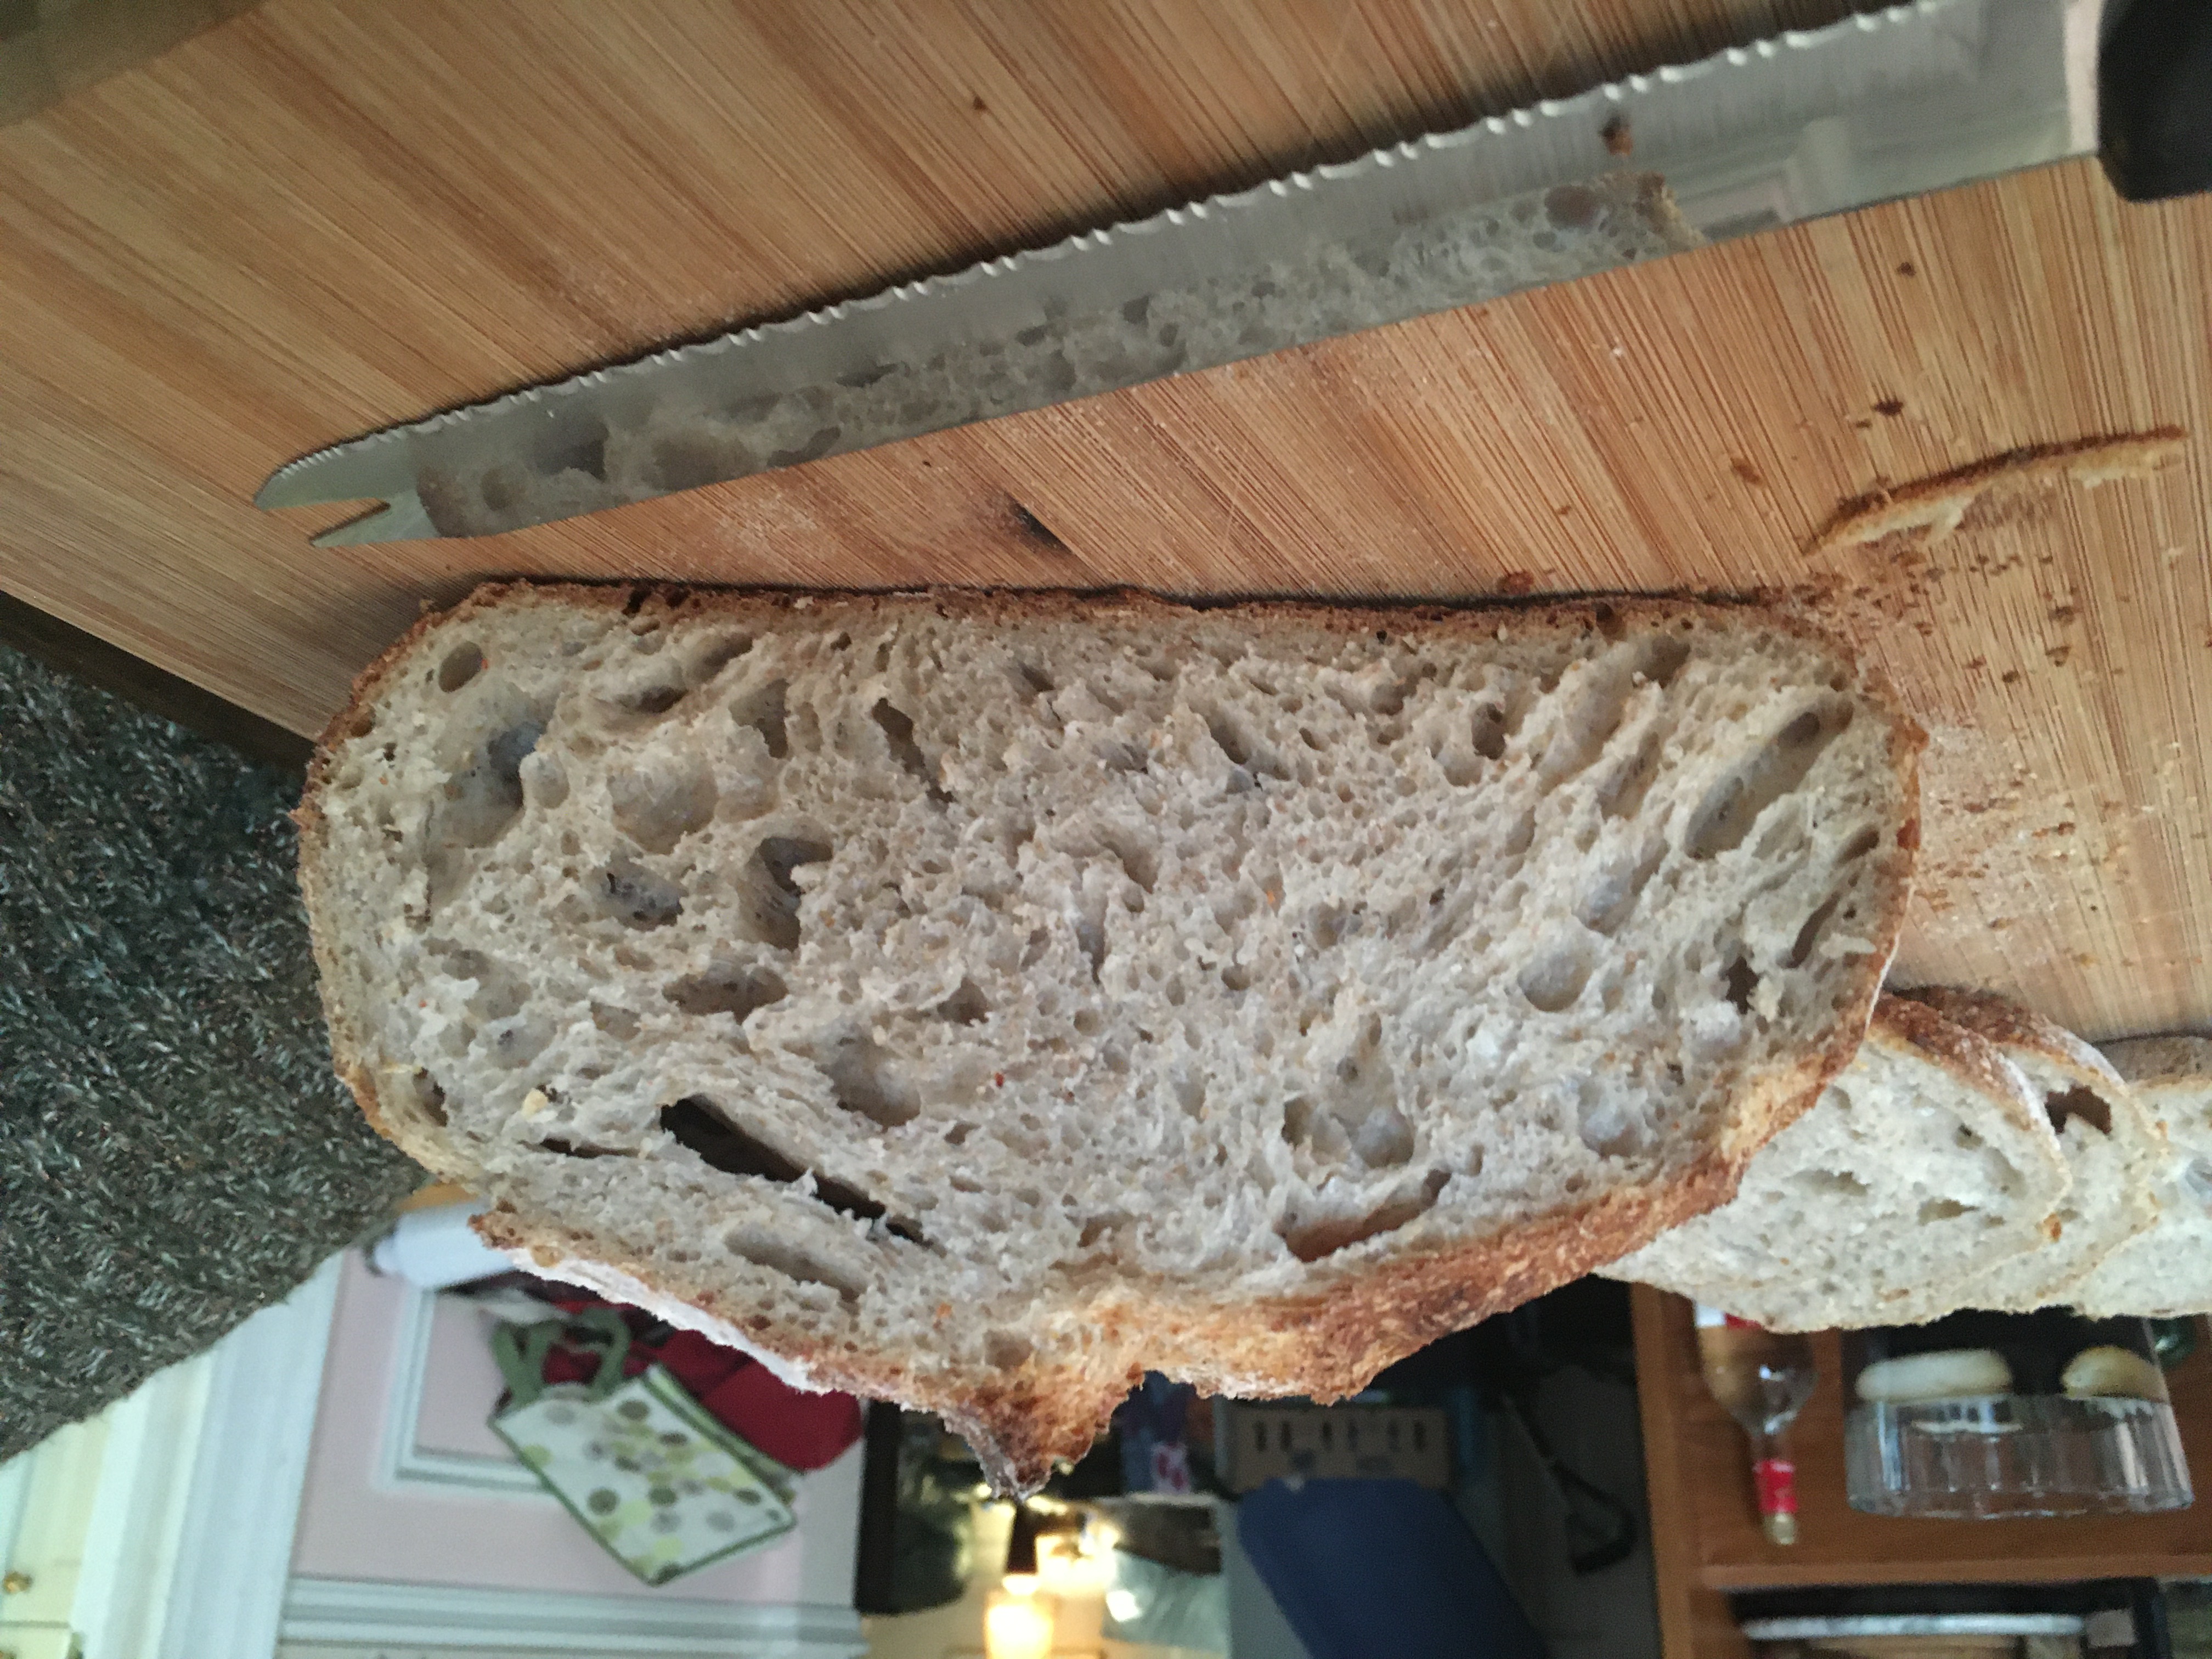
Consume with quality butter and a sprinkle of kosher salt, or any other way you desire.
I find sourdough stores on the counter for up to a week - the acids produced by the yeast and bacteria naturally inhibit mold growth. For the first 24 hours or so, to maintain the crust, I just place the loaf cut-side down on my cutting board; after that it goes into a zip-top bag.
The loaf can also be frozen; tightly wrap in plastic wrap or a zip-top freezer bag. After thawing, It’ll come out less crusty; the crust can be recovered:
let the loaf thaw.
pre-heat the oven to about 200°F.
wet the outside of the bread quickly (with a spray bottle, or by passing it under a tap for a couple of seconds).
bake the loaf for 30 minutes or so.
There you have it - yummy, delicious bread!!
Notes #
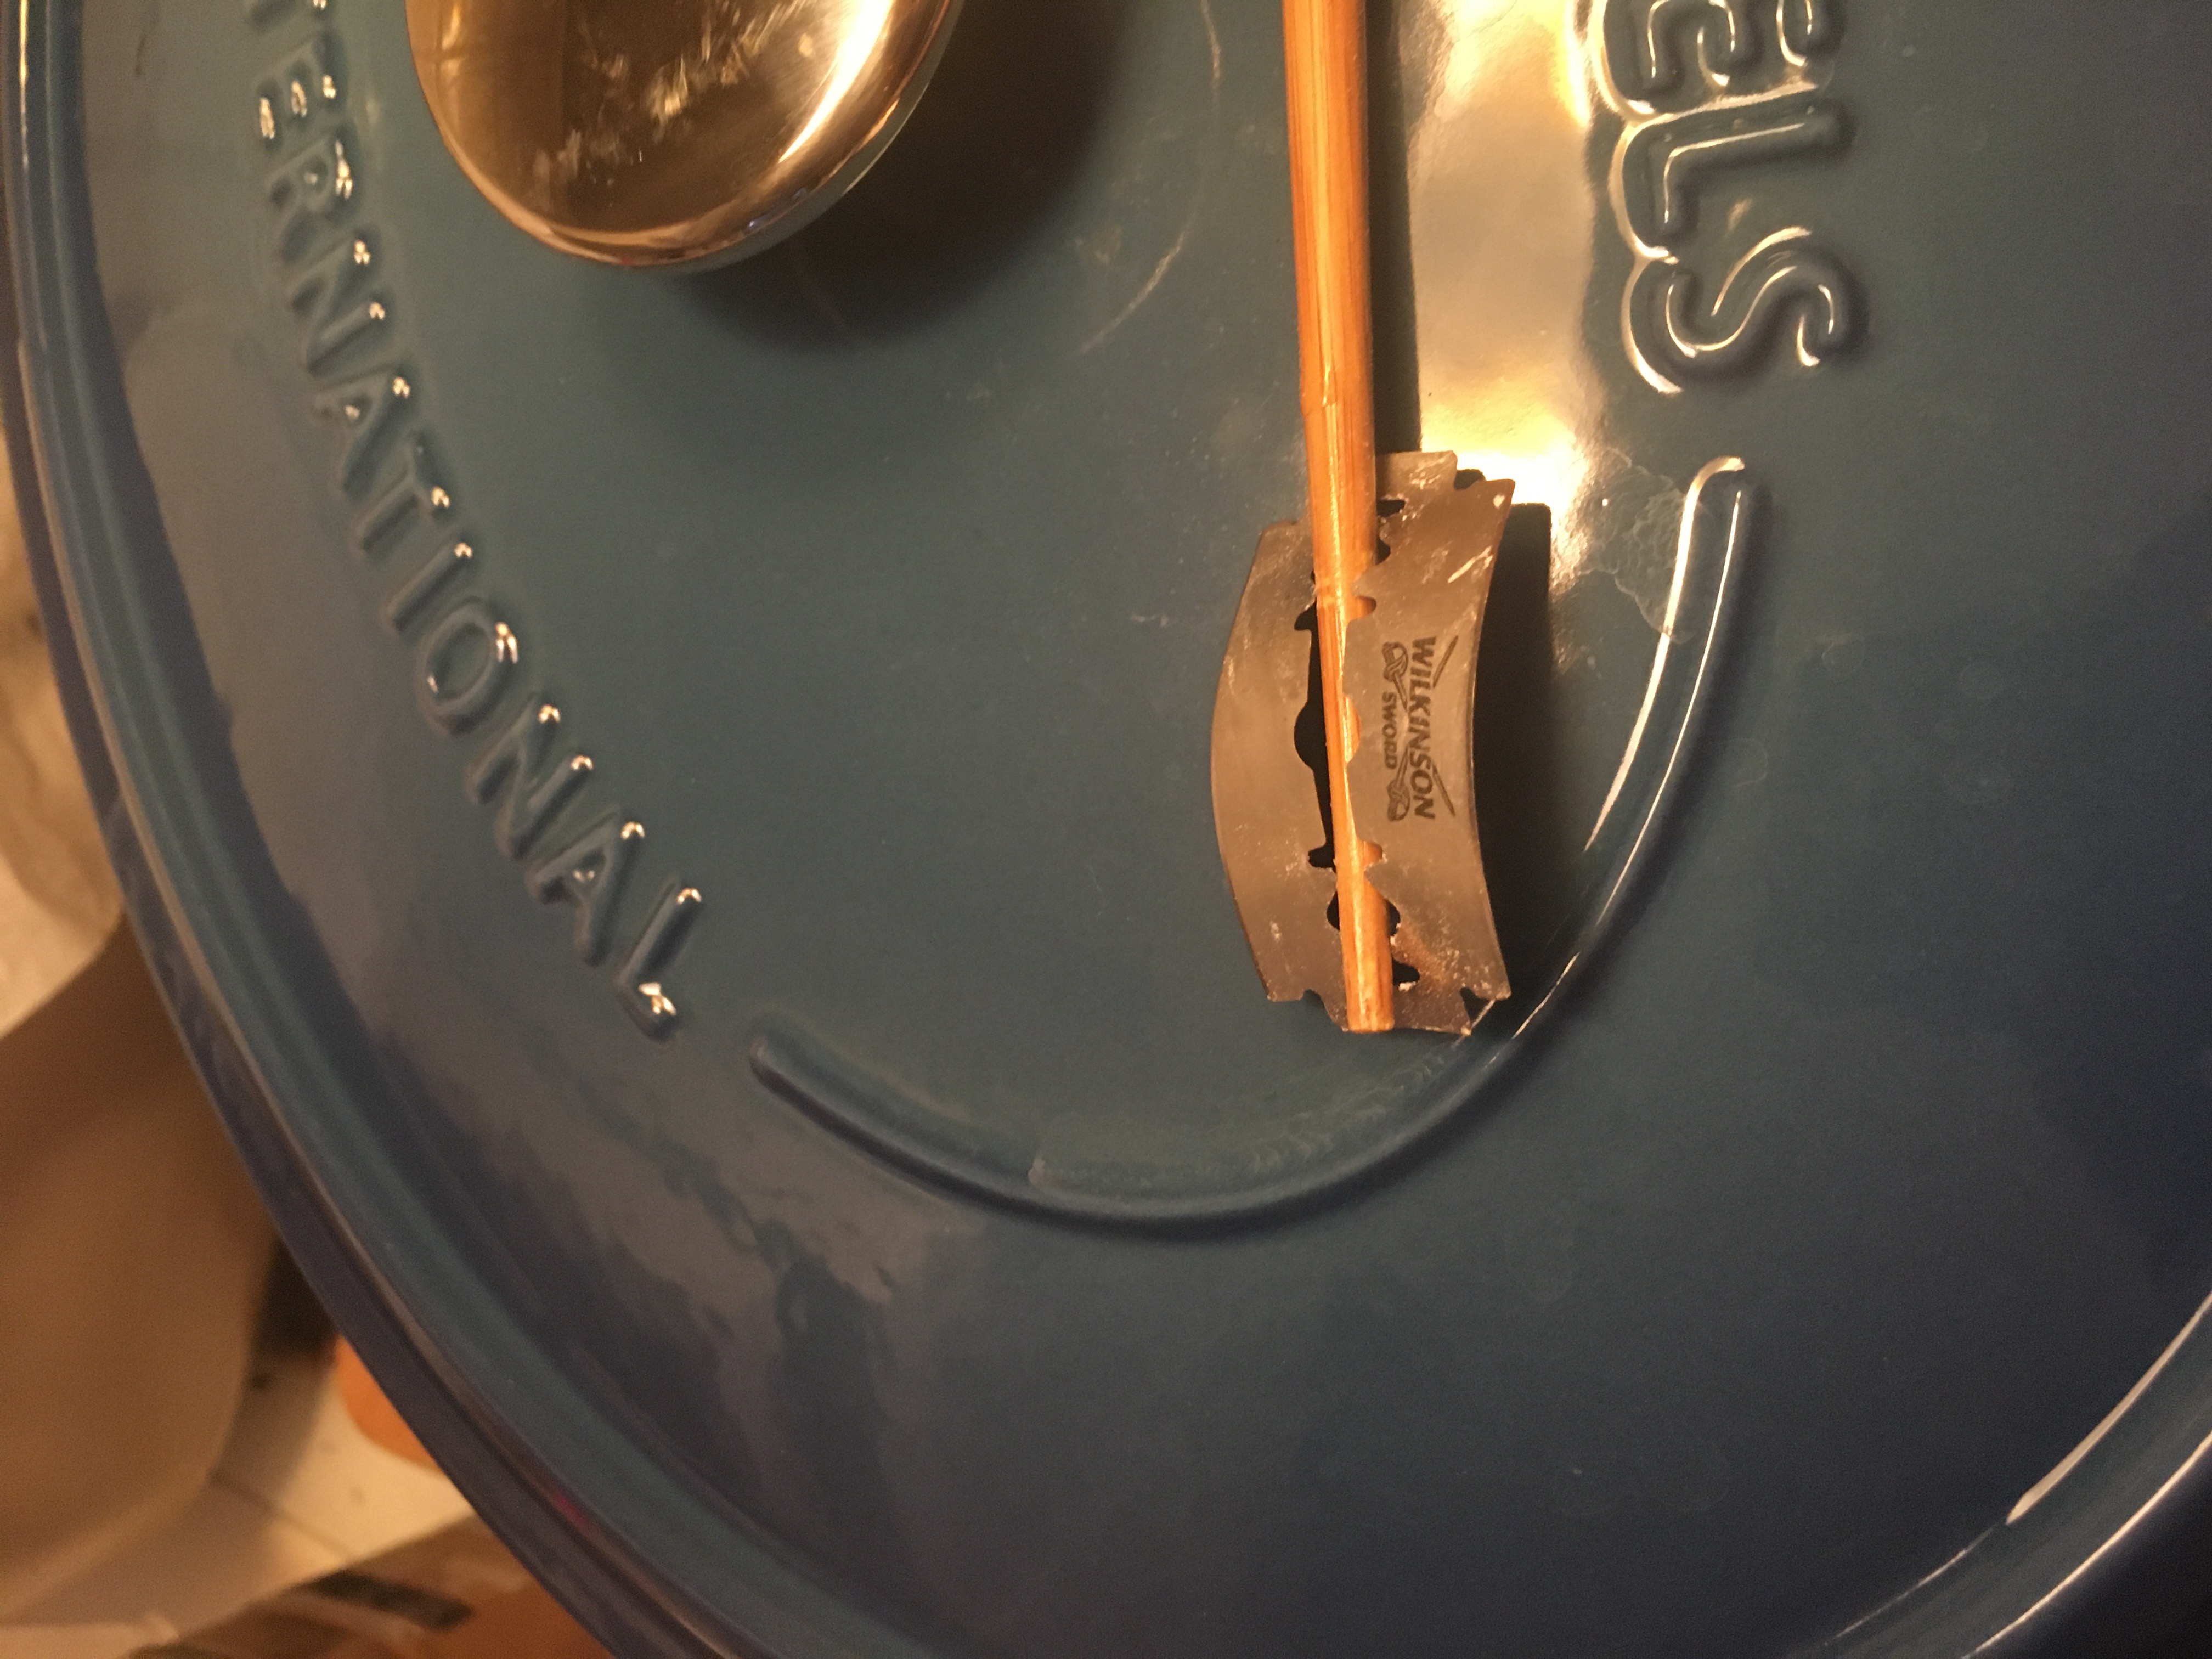
Here’s my cheesy lame for scoring and decorating loaves - it’s just a safety razor with a chopstick through it:
Troubleshooting #
If you have trouble getting your loaves into or out of the dutch oven, you can use parchment paper. Turn the bread out of the proofing basket onto a piece of parchment, score it as normal, and then use the parchment to lift the loaf into the oven.
If you find your bottom crust burns, this is usually because the direct heat from the bottom element is making the bottom of your dutch oven too hot. Place a sturdy baking sheet on a rack underneath your dutch oven - this will block the direct heat, allowing the bread to cook properly (and brown on top) without scorching the bottom crust.